Do you know that the global silicone market value is going to reach 28 billion U.S. dollars in 2030?
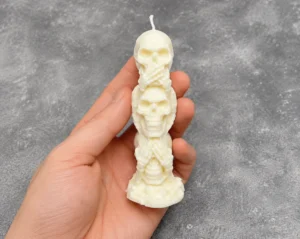
Silicone mold making is good for beginners to make into crafting, baking, or small-scale production. You can whip up custom jewelry, candles, or prototypes with one solid mold. But silicone mold-making mistakes can trip you up.
They waste time, materials, and patience. This guide covers seven common silicone mold-making mistakes, why they happen, and how to sidestep them.
Mistake #1: Messing Up Measuring and Mixing
Why It Happens
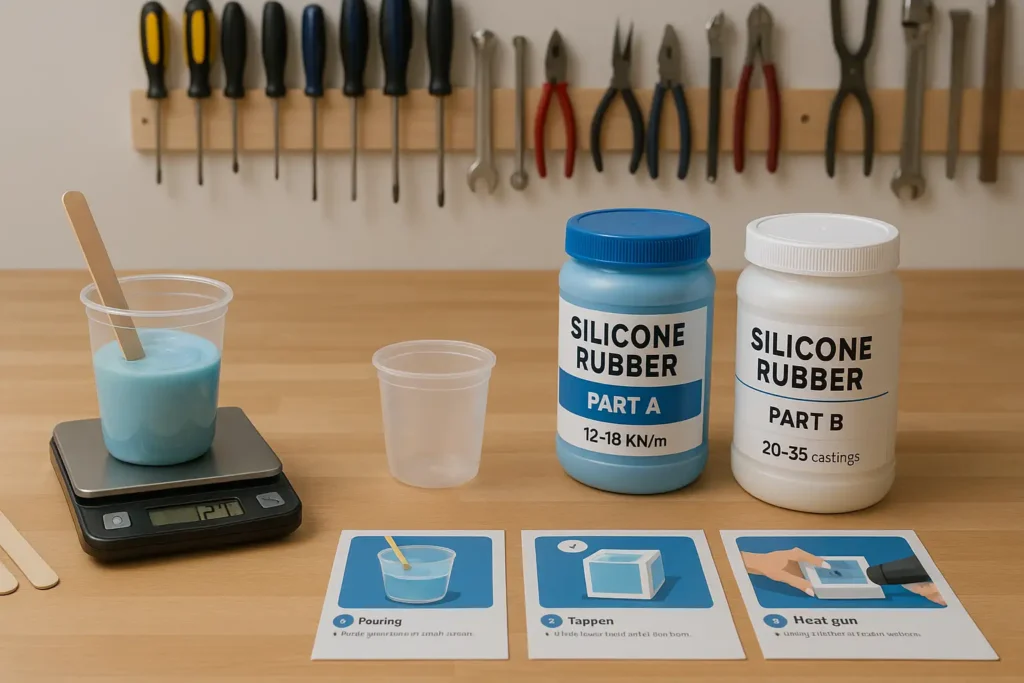
Silicone mold making mistakes often start with sloppy measuring or mixing. Two-part silicone systems, base and catalyst, need precise ratios. Miss the mark, and your rubber mold might stay tacky, fail to cure, or turn brittle.
Beginners sometimes eyeball amounts or rush mixing, thinking it is close enough. It is not. Platinum-cure silicones might demand a 1:1 ratio, while tin-cure ones could need 10:1.
Poor mixing traps air bubbles or leaves unmixed patches, weakening the mold. Skipping instructions or working in humid, cold spaces can also mess with curing.
How to Prevent It
Avoid this silicone mold-making mistake with these steps:
- Use a digital scale. Weigh components exactly, not by volume.
- Check the label. Each silicone has a specific ratio.
- Stir slowly. Blend for 2–3 minutes until the color is uniform, keeping bubbles out.
- Work at 70–75°F with low humidity. Cold or damp conditions slow curing.
- Test a small batch. Try a tiny mix first to catch problems early.
Get measuring and mixing right, and your mold will set strong and smooth.
Mistake #2: Skipping the Release Agent
Why It Happens
Forgetting a release agent is one of the classic silicone mold-making mistakes. Without it, silicone can stick to the master object or mold box, ruining both.
Beginners might think silicone’s flexibility means no release agent is needed. Not true. Porous surfaces like wood or resin cling to silicone, making demolding a nightmare.
Using the wrong release agent, like kitchen spray, can also gum up the curing or leave residue.
How to Prevent It
Dodge this silicone mold-making mistake:
- Choose a silicone-safe release spray or one your silicone’s maker suggests. Petroleum jelly can work for non-porous items, but test it first.
- Apply lightly. Coat the object and mold box evenly without pooling, which can blur details.
- Test on scrap. Confirm that the mold release agent will not harm the master or block curing.
- Clean the object. Use rubbing alcohol to wipe away dust or oils before coating.
A quick-release agent application keeps your mold and object safe.
Mistake #3: Leaky Mold Boxes
Why It Happens
A leaky mold box is a silicone mold-making mistake that spills your expensive silicone everywhere. Liquid silicone is super fluid and will sneak through any gap, seam, corner, or loose edges.
Beginners might use flimsy containers or skip sealing, thinking tape will hold. It will not. If the master object shifts or the box is weak, silicone leaks out, leaving an incomplete mold. Underestimating silicone’s flow or using makeshift boxes like cardboard causes this.
How to Prevent It
Stop leaks with these fixes:
- Pick a sturdy mold box—plastic, wood, or metal—with 0.5 inches of space around the object.
- Seal every gap. Use hot glue, silicone caulk, or modeling clay, ensuring they work with silicone.
- Secure the object. Glue or clay it to the box’s base to keep it still.
- Test with water. Check for leaks before pouring silicone, then dry completely.
- Double-check before pouring. Look for weak spots and reinforce them.
A sealed mold box prevents this silicone mold-making mistake and saves your materials.
Mistake #4: Cure Inhibition
Why It Happens
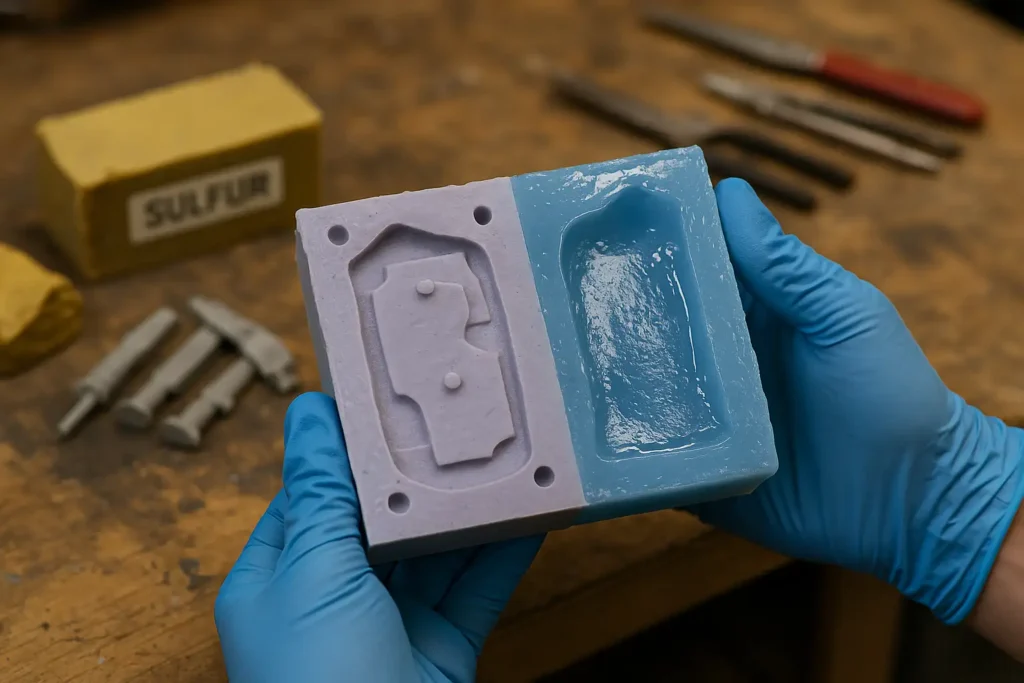
Cure inhibition is a sneaky silicone mold-making mistake where the silicone stays sticky or soft. Contaminants like sulfur in clay, uncured resin, or latex stop the curing process, especially with platinum-cure silicones.
Beginners might mold sulfur-based clay or 3D print with leftover resin, not knowing about block curing. Dirty tools, gloves, or a dusty workspace can also cause this. Lack of material knowledge or sloppy prep is usually the issue.
How to Prevent It
Avoid such silicone mold-making mistakes by:
- Use safe materials. Choose non-sulfur clays or fully cured 3D prints.
- Clean thoroughly. Wipe the object, mold box, and tools with rubbing alcohol to remove contaminants.
- Test a small mix. Dab some silicone on the object to ensure it cures.
- Opt for platinum-cure for tricky projects. They are pricier but more reliable with clean prep.
- Keep your workspace clean. Dust and oils can ruin curing.
Clean materials and prep stop these silicone mold-making mistakes in their tracks.
Mistake #5: Ignoring Undercuts
Why It Happens
Undercuts, recesses, or overhangs on your object can trap the mold, making it a major silicone mold making & casting mistake. Beginners might assume silicone’s stretch handles any shape. It does not always.
Deep grooves or protrusions can lock the mold, especially in one-piece designs, leading to tears or damage. This happens when you do not plan how the mold will release or overlook the object’s complexity.
How to Prevent It
Steer clear of this silicone mold-making mistake:
- Inspect the object. Spot overhangs, hollows, or tricky areas that could trap the mold.
- Use multi-part molds. Split complex molds along a parting line to avoid undercuts.
- Simplify the object. Fill or smooth out problem areas if possible.
- Choose strong silicone. Platinum-cure with high tear strength handles minor undercuts better.
- Test a small mold. Practice demolding to catch issues early.
Planning for undercuts keeps your mold intact and reusable and helps you avoid silicone mold-making mistakes.
Mistake #6: Pouring Too Low and Trapping Bubbles
Why It Happens
Pouring silicone from too low is a silicone mold-making mistake that traps air bubbles, leaving voids or weak spots. Beginners often pour slowly or directly onto the object, thinking it is careful. It is not.
Air gets stuck, ruining details and strength, especially in intricate molds. Not knowing proper pouring techniques, using thick silicones, or working in a stuffy space makes this worse.
How to Prevent It
Eliminate bubbles with these steps:
- Pour from 12–18 inches up. A thin stream lets air escape as silicone flows.
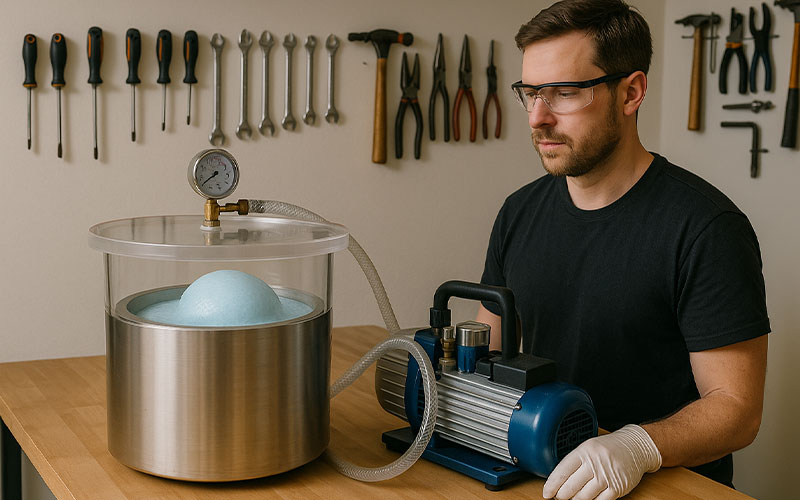
- Use a vacuum chamber. Degassing removes bubbles for perfect molds.
- Tap the box. Gently tap or use a vibrating table post-pour to release bubbles.
- Pick low-viscosity silicone. It flows better, cutting bubble risks.
- Work in a ventilated space. Airflow helps bubbles escape during curing.
Proper pouring avoids this silicone mold-making mistake and ensures flawless molds.
Want to know more? Read a detailed guide 👉 how to get bubbles out of silicone
Mistake #7: Demolding Too Soon
Why It Happens
Demolding too early is a silicone mold making mistake that warps or tears your mold. Silicone might feel firm but needs more time to fully cure, especially for thick molds.
Beginners get eager or misjudge curing times, worsened by cold or humid conditions. Tin-cure silicones take 12–24 hours, platinum-cure 4–6. Pulling too soon distorts the mold or leaves it sticky.
How to Prevent It
Follow these to avoid such silicone mold-making mistakes:
- Follow the label. Add extra time for thick molds to fully set.
- Test carefully. Press a hidden spot—if it is tacky, wait longer.
- Cure at 70–75°F with low humidity. Cold or damp slows things down.
- Stay patient. Extra curing time makes a durable mold.
- Demold slowly. Peel gently to avoid stretching or tearing.
Waiting ensures a mold that is ready for action.
Choosing the Right Silicone: What to Look For Before You Buy
Before you even pick up your silicone, there are three specs you should know. Trust me, these make a huge difference in how your mold turns out — and how long it lasts.
1. Viscosity (mPa·s)
This is basically how thick or runny the silicone is. Low-viscosity stuff (under about 20,000 mPa·s) flows like honey and gets into all the tiny details without trapping as many bubbles. Perfect if you’re making detailed jewelry or miniatures.
Thicker silicone gives you more control for big molds, but it can hold onto air pockets if you don’t degas it. Pick the right viscosity, and you’ll save yourself a lot of bubble trouble.
2. Shore Hardness
How soft or stiff the silicone will be when it cures. Softer silicone (Shore A 10–20) stretches nicely, so it’s great for shapes with deep undercuts or delicate edges.
Harder silicone (Shore A 30+) is tougher and lasts longer, but it’s less forgiving when you’re pulling the mold off. Choose wrong, and you might end up with a floppy mold or one that tears your piece.
Refer to the hardness scale if you want a detailed guide.
3. Tear Strength (kN/m)
This tells you how well the mold can handle being pulled and flexed without ripping. If it’s 20 kN/m or higher, you’re in good shape for long-term use. Lower tear strength might be cheaper now, but you’ll be replacing molds sooner, which means spending more later.
If you match these three specs to your project, you’re already halfway to a mold that works the way you want it to. It’s not about grabbing any silicone off the shelf; it’s about getting the right one for your job.
Conclusion
Silicone mold making mistakes like sloppy mixing, skipping release agents, leaky boxes, cure inhibition, ignoring undercuts, low pouring, or early demolding can derail your projects.
But it’s easy to avoid. Measure carefully, prep thoroughly, and plan smartly. These steps will help you making craft molds and capture every detail, and last for ages.