
Why Make Your Own Mold?
Making your own toy can be fun. You get to pick the shape. You get to pick the size. This is DIY dildo creation. It lets you make a custom sex toy design . Maybe you want something special. Maybe store toys are not right for you.
Making your own can also save money. And you know what it is made of. You can use body-safe silicone . This is very important. Safety first! We want skin-safe materials. We want non-toxic stuff. Pure silicone is good. It comes from sand . It does not often cause allergies .
This guide will show you the steps. We will learn about silicone molding techniques.
What You Need: Tools and Stuff
Before you start, get your things ready. Here is a list:
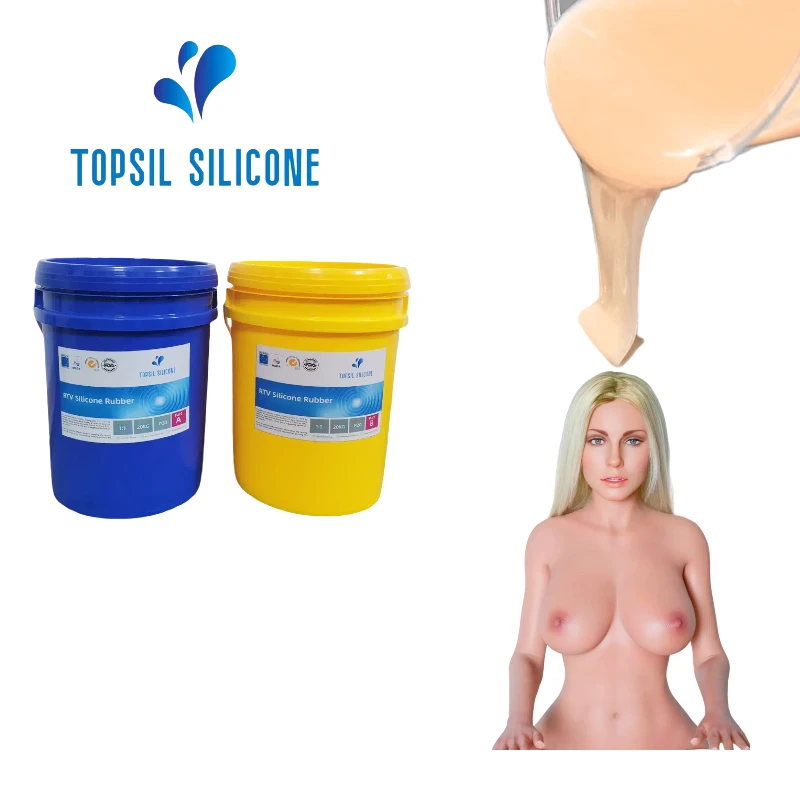
- Good Silicone: This is the most important part. Use platinum cure silicone . It is safe for your body. Look for names like Smooth-On Dragon Skin®. Or Topsil Platinum Silicone. These are skin-safe materials. Some are called medical-grade silicone. Look for FDA-Compliant Materials. Maybe it has ISO 10993 Certification. This means it passed safety tests. There are different kinds. Some are soft, some are hard. This is called silicone hardness (Shore scale). OOMOO,EcoFlex®, Topsil Silicone PR Series and PlatSil® Gel are other names you might see. We are making RTV silicone molds. RTV means Room-Temperature Vulcanizing. It hardens at room temperature. Avoid tin-cure silicone for body toys. It’s not always safe.
- Mold Release Spray: This stops the silicone from sticking. Like oil in a pan . Use Mann 200 or Ease Release™. Use just a little bit . Some people try mold release alternatives like petroleum jelly as release agent, but special spray is better for safety. Silicone adhesion prevention is key.
- Shape Maker (Prototype): You need a shape to copy . You can use clay. Make sure it is sulfur-free clay . Like Monster Clay. Non-sulfur clays are best. They don’t mess up the silicone. This is prototype sculpting. Or you can use a 3D-printed master model. You can even use Epoxy Resin Prototypes or Cyanoacrylate for Prototyping to make or fix your shape. Be good at sculpting clay types.
- Mold Box: This holds the liquid silicone. A cup can work . Or build a box with LEGO® blocks. This is mold box construction. Make it strong.
- Safety Stuff: Wear safety gloves for molding. Nitrile Gloves are good. Work in a place with fresh air. Good ventilation requirements are needed.
- Mixing Stuff: You need clean mixing containers. And sticks to stir. A scale helps measure right. Measuring by weight/volume is important.
- Optional Helpers: A Vacuum Degasser or vacuum chamber use helps pull air bubbles out of the silicone. This makes the mold strong. A Pressure Pot System or pressure pot casting also helps make molds dense and bubble-free. Heat Gun (Bubble Removal) can pop surface bubbles sometimes. You can buy supplies from places like TAP Plastics.
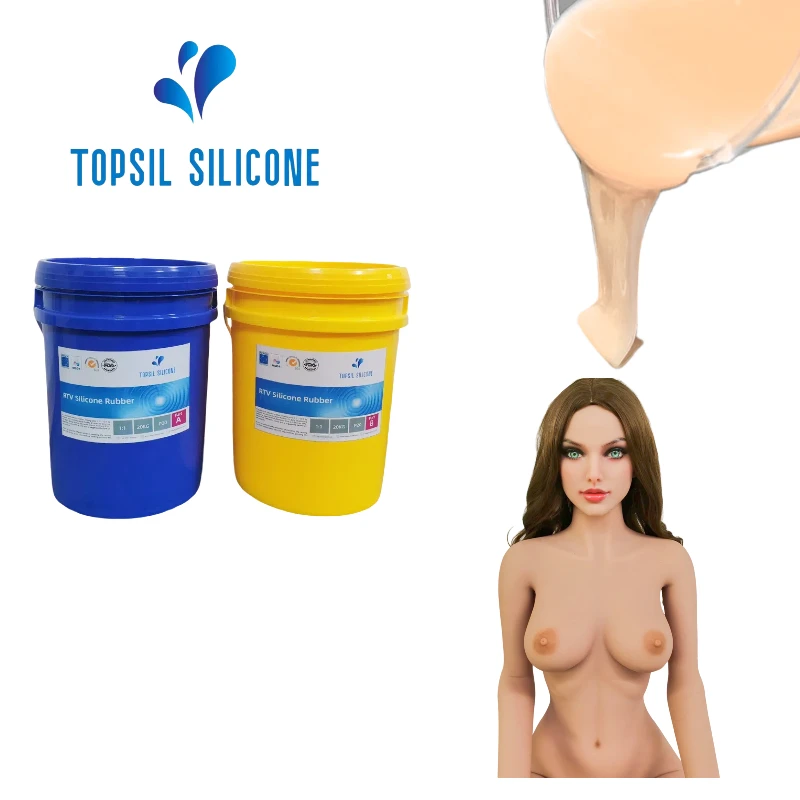
Table: Key Materials and Why
| Item | Why It’s Needed | Examples / Notes |
| Platinum Silicone | Body-safe, strong, lasts long | Dragon Skin, Mold Star, Topsil Silicone PR Series, ISO 10993 Certified |
| Mold Release | Stops sticking | Mann 200 , Ease Releas, use lightly |
| Prototype | The shape you want to copy | Sulfur-free clay , 3D print |
| Mold Box | Holds the liquid silicone | Cup , LEGO box, custom container |
| Safety Gear | Protects you | Nitrile gloves, good airflow |
How to Make the Mold: Step-by-Step
Let’s make the mold! Follow these steps. Go slow. Be careful.
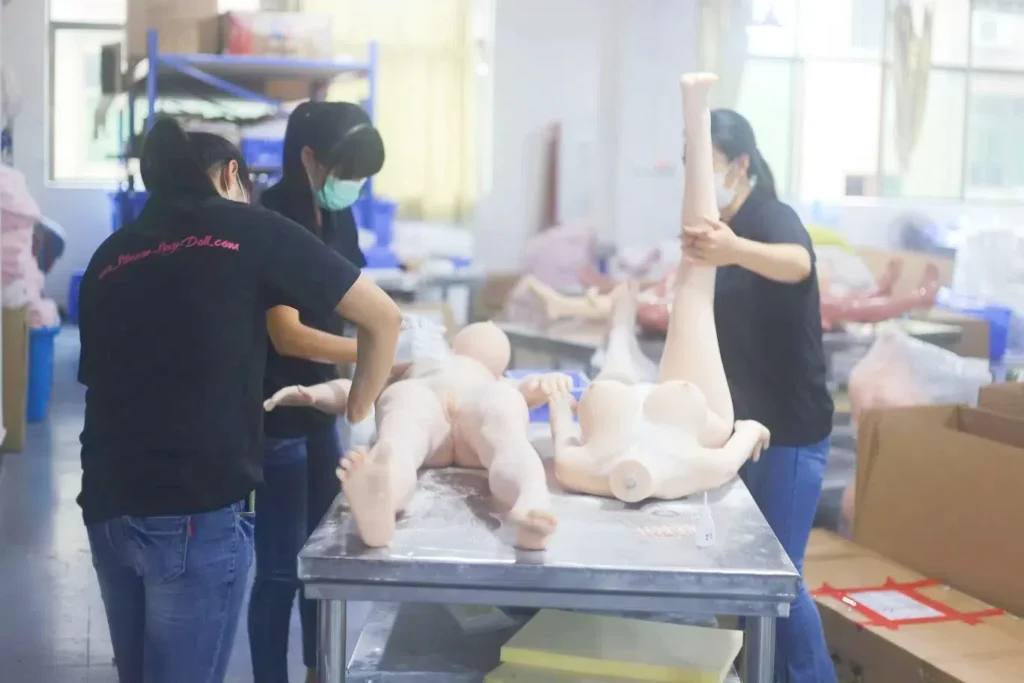
Step 1: Make Your Shape (Prototype) First, make the shape you want to copy . Use your clay. Make it very smooth. No bumps. No lines. Think about detail preservation. If you want tiny details, make them clear on your shape. Consider the dildo base design too. Make sure it has a flat bottom if you want it to stand up . Some people use Silicone for Rapid Prototyping Molding ideas to make shapes fast. Keep master model preservation in mind if you want to reuse the original shape.
Step 2: Build the Mold Box Put your shape in the box or cup . Stick it to the bottom. Use a little glue or sticky tack. Leave space all around the shape. About half an inch (or 1-2 cm) is good. This space is for the silicone. If you make a two-part mold design, you will need mold registration keys. These are bumps and dips that help the two halves fit together later. For a simple block mold process, one box is fine.
Step 3: Use Mold Release Spray Now, spray the inside of the box. Spray your shape . Cover everything lightly. Don’t spray too much . Just enough to make it shiny. This stops the silicone mold from sticking to the box or the shape. Non-toxic mold release is best.
Step 4: Mix the Silicone Read the silicone manufacturer guidelines. This is very important. Silicone usually comes in two parts, A and B. You must mix them just right. Use a scale for measuring by weight/volume. Follow the mixing ratio guidance exactly. Pour Part A and Part B into a clean mixing container. Stir slowly but well. Try stirring without bubbles. Don’t whip air into it . Mix for the time the label says. Some silicones are thick (high silicone viscosity), some are thin (low viscosity). If you want color, add silicone pigments now. Like Silc Pig® or Smooth-On SoStrong® (check if skin-safe pigments). You can even add glow-in-the-dark additives. Mix color in well. Some people use silicone thinner to make it flow better, or silicone thixotropic agents to make it thicker for brush-on mold method.
Step 5: Pour the Silicone Pour the mixed silicone into your mold box. Pour slowly . Pour in one spot. Let the silicone fill the box itself. This helps prevent air bubbles. Pour until the shape is covered. Leave about half an inch (1 cm) of silicone above the highest point of your shape. This mold thickness guidelines helps make the mold strong. If you see bubbles, tap the box gently. Or use a Vacuum Degasser before you pour. Degassing bubbles makes the best molds. Silicone self-leveling helps make the top flat. Some special molds might need mold venting channels.
Step 6: Let it Cure (Get Hard) Now, wait. Let the silicone sit still. Do not move it. It needs time to get hard. This is curing time for silicone. Most need 24 hours at room temperature . Check the label for exact time. This is room-temperature vulcanizing (RTV). Temperature effects on curing. Warm rooms make it cure faster. Cold rooms make it slower. Follow the silicone curing stages. Some use temperature-controlled curing for perfect results. There are quick-cure silicone options too, but they can be harder to work with. Don’t rush it. Check for silicone cure inhibition fixes if it stays sticky – maybe something contaminated it (like sulfur clay or latex-free materials interacting). Look out for inhibitors in silicone.
Step 7: Demold (Take it Out) After the time is up, check if the silicone is hard. Gently touch a corner. If it’s firm, it’s ready. Carefully take the mold out of the box. Then, gently pull your original shape out of the silicone mold. This is the demolding process. Be slow. Be careful. Don’t tear the mold. Avoiding mold tearing is important for reusable mold tips. Using a soft silicone like MoldStar15 makes this easier . You might see mold seam lines if you made a two-part mold.
Step 8: Clean and Check Your Mold Look at your new silicone mold. Is it good? No big bubbles? No tears? Clean it gently. Now you have a mold! You can use it to make silicone copies . This is silicone rubber casting. You can make casting dildo replicas. Maybe explore hollow dildo casting or dual-density toys later. Some advanced techniques include insert molding techniques or rotocasting technique. Think about hygienic mold storage – keep it clean and dry. Consider mold reinforcement methods if needed for complex shapes. Check the silicone shelf life of your materials before starting.
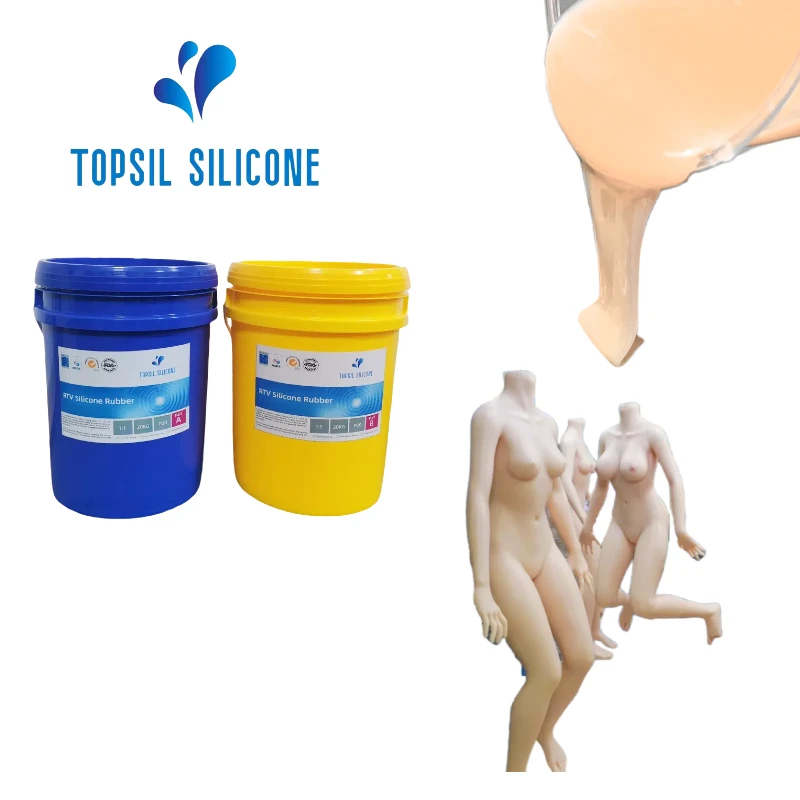
Table: Making Process Summary
| Step | Action | Key Point | Data Point |
| 1. Make Shape | Sculpt or 3D print your design | Smooth surface, no undercuts | – |
| 2. Build Box | Contain the shape with space around it | Secure shape, leak-proof | – |
| 3. Apply Release | Lightly coat box and shape | Prevents sticking | Like non-stick pan coat |
| 4. Mix Silicone | Combine parts A+B exactly per instructions | Correct ratio, slow mix, avoid bubbles | – |
| 5. Pour Silicone | Pour slowly into the box over the shape | Let it flow, cover the top | Aim for ~400g silicone |
| 6. Cure | Let silicone harden undisturbed | Patience, room temperature | 24 hours typical cure |
| 7. Demold | Carefully remove box and original shape | Gentle, avoid tearing | Soft silicone helps |
| 8. Inspect & Clean | Check mold quality, clean it | Ready for casting | Mold lasts 50+ uses |
Safety is Super Important!
Making things is fun. But safety comes first. Always.
- Use Safe Silicone: Only use platinum cure silicone tested for skin. Look for body-safe certification. Like ISO 10993. Read the Safety Data Sheet (SDS). Check ASTM D-4236 Safety Standard if listed. Using Silicones for Prosthetic Application often means they are skin safe.
- Good Air: Work in a place with fresh air. Open a window. Use a fan. Good ventilation requirements matter. A Ventilation Hood is best if you do this a lot.
- Wear Gloves: Always wear gloves. Nitrile Gloves are good. Protect your skin.
- Keep Clean: Keep your space clean. Clean your tools. Practice hygienic mold storage. Post-cure cleaning of the mold is good. Maybe use Ultrasonic Cleaners.
- Read Labels: Read all the instructions. Follow the silicone manufacturer guidelines. Know the silicone pot life (how long you have to work with it before it gets thick).
- Avoid Contamination: Keep things clean. Don’t mix bad stuff with silicone. Some things stop it from curing (inhibitors in silicone).
- Be Careful with Tools: Sharp knives or saws might be used for cutting the mold in some methods (like two-part molds). Be very careful.
Questions People Ask (FAQ)
Q: My silicone has bubbles! What do I do?
A: Mix slower next time . Pour slower . Pour from high up in a thin stream. Tap the mold gently. A vacuum chamber use or Vacuum Degasser is the best way to degas bubbles . A pressure pot also works great. A heat gun might pop surface bubbles but be careful not to overheat. Bubbled-Free Pouring Guides can help.
Q: My silicone is sticky! It didn’t get hard.
A: Did you mix Part A and Part B right? Check the mixing ratio guidance. Was the room too cold? Temperature effects on curing. Did something bad touch the silicone? This is silicone cure inhibition. Check troubleshooting incomplete curing guides from the maker. Maybe use silicone adhesion promoters only if needed for specific jobs, not usually for the mold itself.
Q: How many toys can I make with one mold?
A: Many! A good platinum silicone mold can last for 50 or more uses . If you are careful. This shows good longevity of silicone molds. Treat it well. Use mold release spray each time.
Q: Is making my own mold expensive?
A: The first time, maybe 50 to 50 to 50 to100 for the silicone and supplies . But you can make many toys from one mold. So it gets cheaper for each toy. Look for cost-effective silicone like ELASTOSIL® M 1470 for certain types of molds (check if body safe for the final toy if using it directly). Think about silicone waste reduction.
Q: Can I make different textures?
A: Yes! The mold will copy the texture of your shape. Make your shape smooth or bumpy. You can make realistic toy textures. Good surface texture replication depends on your prototype and silicone quality. High-detail silicone picks up everything. Some people frost silicone surfaces for a different feel.
Q: Can I make it glow or have colors?
A: Yes! Add skin-safe pigments like Silc Pig® when mixing . Or glow-in-the-dark additives. Make sure they are safe for skin contact. Pigmenting silicone is easy. Translucent silicone uses are possible too.
Wrapping Up
Making your own silicone dildo mold lets you be creative . You can design your perfect shape . It takes time and care. But it can be rewarding.
Remember the key things:
- Safety first! Use body-safe platinum cure silicone .
- Follow the steps carefully. Especially mixing .
- Be patient with curing time .
- Keep everything clean.
Think about silicone shrinkage (most good silicones shrink very little). Consider undercut prevention in your design for easier demolding. You might need post-processing finishing like sanding silicone edges carefully. You can explore silicone density options or layered casting for different feels. Some toys need a good suction cup integration.
Have fun making your own special things! From reproduction molding to totally new ideas, you are the designer. Enjoy the homemade lovin’ results!