Do you like making things with resin? Resin is like liquid plastic. It gets hard. You can make cool stuff with it. Things like resin jewelry or maybe coasters/figurines. You can even make big things like a tabletop/art piece .
To make shapes with resin, you need a mold. A mold is like a cookie cutter. It holds the resin while it gets hard. You can buy molds. But it is more fun to make your own! This guide shows you how to make silicone molds for resin.
Making your own silicone molds is great. Why?
- Save money: Buying molds can cost a lot. Making them is cheaper . You can save maybe half the cost!
- Make anything: You can make a mold for any shape you want. A toy? A shell? A 3D-printed master? Yes! Even a big 52-inch round tabletop .
- Fun: It is a fun craft project . You learn something new.
This silicone mold making tutorial will help you. It is a straightforward process . You can do it even if you are new. We will cover everything. From the mold-making supplies you need to how to care for your finished reusable silicone molds. Let’s start this creative endeavor ! You can make molds for resin casting, polymer clay, or even food like chocolates .

What You Need: Your Mold-Making Supplies
Before we start, let’s get our stuff ready. What materials you need depends on your project . We will list the main things.
- Silicone Rubber: This is the main stuff. It comes in two parts: a base and a catalyst (or activator). You mix them to make the mold.
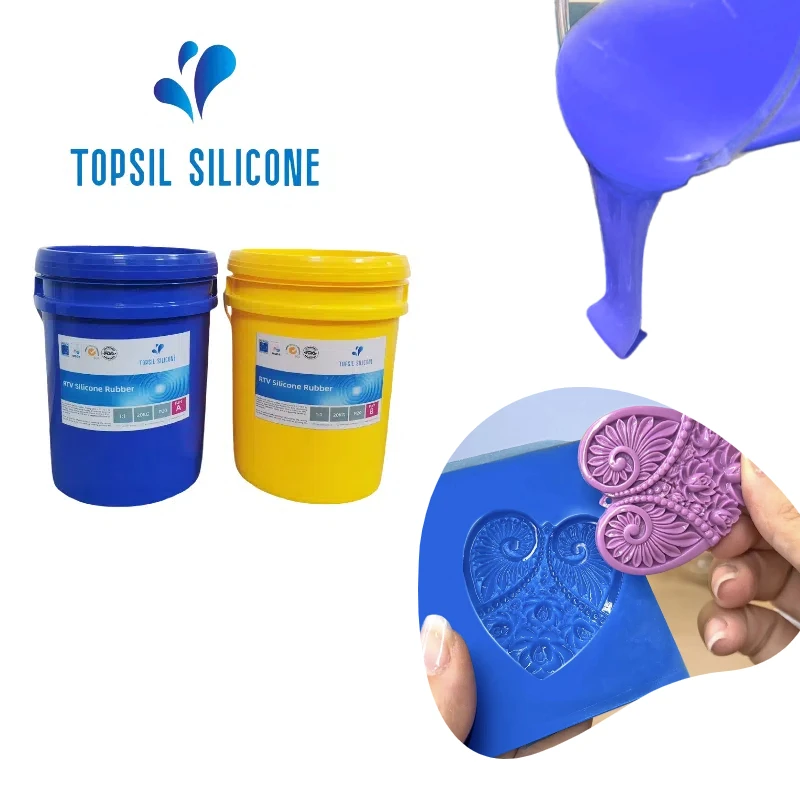
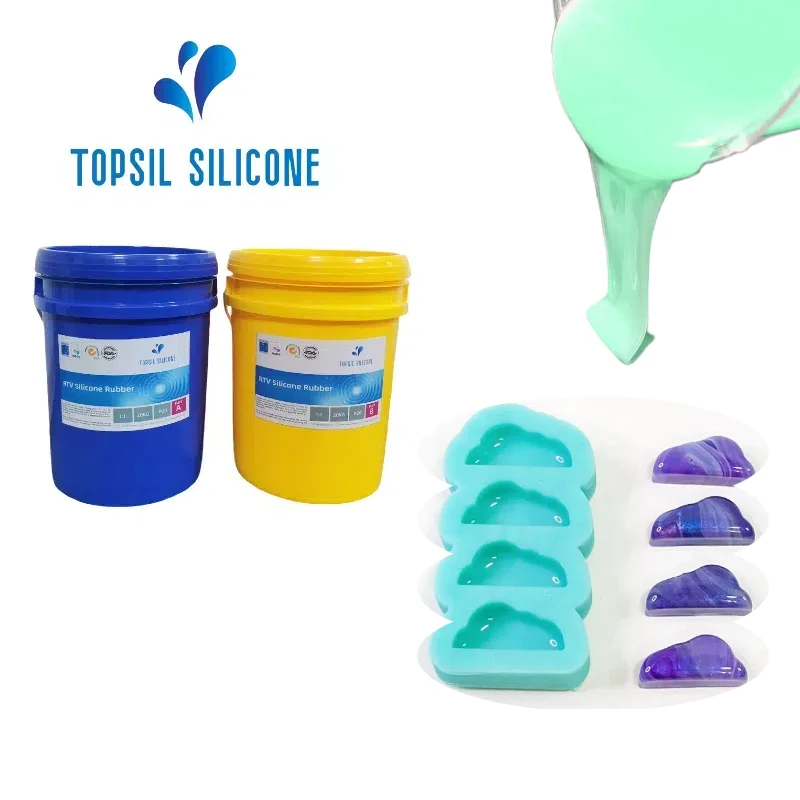
- Platinum-cure silicone: This is very good. It lasts long. It does not shrink much. Topsil Silicone Manufacturer makes popular ones like P-25. It is often food-grade silicone, good for making molds for candies or ice cubes . You can even find FDA-Approved Silicone that meets standards like ISO 10993. Look for Platinum Silicone (Category).
- Tin-cure silicone: This type is usually cheaper. It works well. But it might not last as long. It is good for trying things out. Alumilite Amazing Mold Rubber is one type.
- Silicone Putty: This is like play-dough. You mix two parts by hand. It is fast for small things. Good for Silicone Moulding Putty (e.g., Blue Stuff).
- Special Silicones: Need clear silicone for UV resin? It lets light pass through to cure the resin . Need high-temperature resin molds? There is silicone for that too. Look for heat-resistant silicone for resin. The Shore Hardness Scale tells you how hard the silicone is. A higher number means harder silicone 6. A low-viscosity silicone flows easily for tiny details.
2. Your Master Model: This is the object you want to copy. It can be:
- A toy or figure.
- A 3D Printer model made from plastic. Maybe a Benchy Calibration Model. You can design things using ThriveCAD or ZBrush.
- Something you made from Sculpey Clay or other clay prototypes.
- An already existing mold shape you want to copy .
3. Mold Box: This holds the liquid silicone around your model. You can:
- Build one from Lego bricks. Fun!
- Use simple plastic containers.
- Make a wooden frame .
- Use paper templates to plan your box size.
- Use silicone tape to seal edges.
4. Mixing Stuff:
- Mixing cups: Plastic or glass cups work well. They are easy to clean later .
- Stirring tools: Silicone Mixing Sticks, wood sticks, or metal tools are fine .
- Scale: To measure silicone by weight/volume correctly. Bad mixing causes problems .
5. Other Handy Things:
- Mold release agent: Helps get your model out of the mold. Mann Release 200 is a brand. Sometimes cornstarch works too. Not always needed for silicone-to-silicone molds.
- Gloves: Keep your hands clean! Wear gloves for silicone handling.
- Silicone Mat: Protects your table. A Silicone Mat (Work Surface) is great.
- Clay: To seal the bottom of your model in the box. Mold Max is a product line that includes clays.
- Level: Make sure your box is flat. An Adjustable Resin Leveling Table like the one from Let’s Resin is super helpful. You can find great tools and maybe even explore the Jmmico Children’s DIY Zone for more craft ideas.
- Vacuum Chamber or Pressure Pot: These are fancy tools. A Vacuum Chamber (Tool) sucks air bubbles out of the silicone before you pour. Brands like MagicSealer make these. A Pressure Pot (Tool) squeezes bubbles after you pour, making them tiny. California Air Tools makes pressure pots. Using these helps get bubble-free molds.
- Silicone Pigments: Want colored molds? Use Silc-Pig or other silicone colorants. Coloring silicone for transparent molds is also possible.
- Silicone Thinner: Makes thick silicone flow better.
- Silicone Sealant: Good for repairs with silicone sealant if a mold tears later.
You can find many of these supplies at silicone rubber manufacturer like Topsil Silicone or online suppliers like Reynolds Advanced Materials or Polytek Development Corp. Check out Let’s Resin (Tutorial Platform) for kits and supplies too. You might find DIY silicone mold kits helpful .

Let’s Make a Mold! Step-by-Step
Okay, got your stuff? Let’s follow this silicone mold making tutorial. We will make a simple open-face mold. This is a one-piece mold, good for flat-backed objects.
Step 1: Get Your Model Ready
- Clean your master model. No dust or dirt.
- If needed, spray it lightly with a mold release spray. Let it dry.
- Place your model in the middle of your mold box.
- Use a bit of hot glue or clay to stick it down. Make sure it won’t float when you pour the silicone.
- Seal any gaps at the bottom with clay so silicone doesn’t leak under it.
Step 2: Mix the Silicone
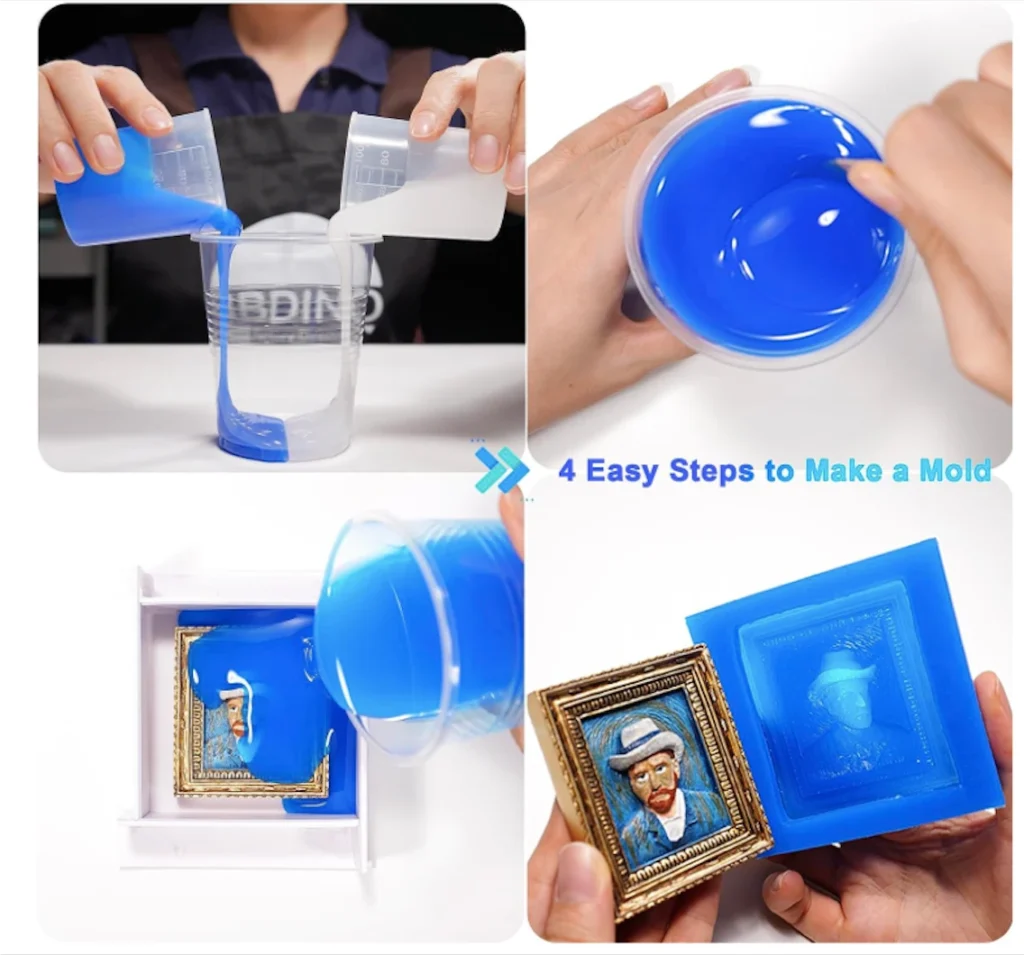
- Read the instructions for your silicone! Each brand is different. Pay attention to mixing ratios for silicone brands. Usually, it’s 1:1 by weight or volume. Use your scale or marked cups.
- Pour Part A and Part B into a mixing cup.
- Stir slowly but well. Scrape the sides and bottom. Mix for 3-5 minutes. Don’t whip it – that makes bubbles! Uneven stirring is a big reason for sticky silicone molds or uncured spots 7. 68% of problems come from bad mixing .
- Pot Time is how long you have to work before it starts getting thick. Know your pot time.
Step 3: Pour the Silicone
- Find a high corner of your mold box.
- Pour the mixed silicone slowly in a thin stream into that corner. Let it flow over your model. How to pour silicone molds this way helps push air out. Don’t pour right onto the model.
- Fill the box until the silicone is about 1/2 inch above the highest point of your model. Follow silicone mold thickness guidelines.
Step 4: Get Rid of Bubbles (Optional but Good!)
- Avoiding air bubbles in silicone molds is key for details.
- If you have a Vacuum Chamber, put your mixed silicone cup inside before pouring. Run it until the bubbles rise and pop. This is called vacuum degassing silicone.
- If you have a Pressure Pot, put the whole poured mold box inside after pouring. Pressurize it (usually 50-60 PSI). Leave it under pressure while it cures. This makes bubbles tiny.
- No fancy tools? Gently tap the sides of the mold box after pouring. Some bubbles might rise.
Step 5: Let it Cure
- Leave the mold somewhere flat and warm. Check the silicone mold curing time on the package. It can be a few hours (like fast-cure silicone) or up to 24 hours. Temperature’s effect on mold curing is real – warmer is often faster.
- Don’t touch it while it’s curing! Resist the urge!
Step 6: Demold!
- Once cured, the silicone should be firm but flexible.
- Carefully remove the sides of your mold box.
- Gently peel the silicone mold away from your master model. This is how to demold resin safely (well, demolding the master here).
- Yay! You have a mold!
Step 7: Clean Up
- Clean your tools. Cured silicone peels off most things easily. Use silicone tape for easy cleanup on surfaces. Clean resin from silicone molds after use too.

More Mold Making Tips and Tricks
You made a basic mold. Want to learn more?
- Two-Part Silicone Molds: For complex shapes that are not flat on one side (like a ball). This involves making one half, adding silicone mold registration keys (bumps and dips), applying release, then pouring the second half. Look up creating two-part silicone molds. Objects with undercuts need this.
- Brush-On Silicone Mold Method: Good for very large objects. You paint layers of thicker silicone onto the model. Often needs a hard outer shell (mother mold) for support.
- Mold Box Construction Techniques: Use foam board, plastic sheets, or even DIY mold box using Lego/plastic.
- Adding Supports to Complex Molds: For tricky parts.
- Silicone Mold Shrinkage Rates: Platinum cures shrink less than tin cures. Keep this in mind for exact sizes.
- Master Mold Compatibility: Some materials stop silicone from curing right. This is called inhibition. Sulfur in some clays or resin prints can cause inhibition issues . Test first on a small spot or use a barrier coat/sealer. Testing silicone compatibility with resin masters is smart.
- Shore Hardness: For very detailed resin casting, soft silicone molds work well . For molds that need to be stiff, use a higher Shore hardness. You can use silicone additives for hardness.
- Transparent vs. Opaque Silicone: Clear silicone is needed for UV resin . Opaque is fine for epoxy resin. Translucent resin molds are a middle ground.
- Calculating Silicone Quantity Needed: Search online for a Curing Time Calculator or volume calculator to avoid waste and reducing silicone waste.
- Mold Life: Silicone mold life expectancy depends on the silicone type and how you treat it. Silicone mold durability tips include proper cleaning and storage. Silicone mold storage tips: Keep them flat, clean, and out of sunlight.
- Fixing Molds: Small tears? Sometimes repairs with silicone sealant work for fixing torn silicone molds.
- Mold Venting: For complex molds, tiny channels called vent holes let trapped air escape. Look up silicone mold venting techniques.
- Surface Finish: The silicone mold surface finish copies the master exactly. Polish your master for shiny casts!
- Alternatives: Smooth-On alternatives for molds exist. Check brands like Topsil Silicone, Polytek, or search Silicone mold price comparison. Silicone vs. polyurethane molds: Polyurethane is usually harder but less flexible.
- Large Projects: For silicone mold for large resin pieces, plan your support shell well. Consider rotocasting with silicone molds for hollow parts.
- Food Safe: Making molds for food? Use only food-safe resin molds made with food-grade silicone . Ensure your resin is also food-safe if the final piece contacts food. Always check FDA-Approved Silicone labels.
- Safety First: Always follow mold-making safety precautions. Work in a well-aired space. Wear gloves. Read all product safety sheets. Use non-toxic silicone for crafts when possible.

Using Your New Mold with Resin
Now the really fun part!
- Make sure your new mold is clean and dry.
- Mix your epoxy resin (like EcoPoxy or ArtResin) or UV resin. Follow the epoxy resin curing process instructions. Brands like Smooth-Cast or GlassCast or Alumilite Super Plastic Resin are popular choices.
- Pour the resin into your silicone mold. You can do layered resin in silicone molds or embed things. Try making silicone molds for geodes/ornaments or silicone molds for keycaps.
- Let the resin cure fully.
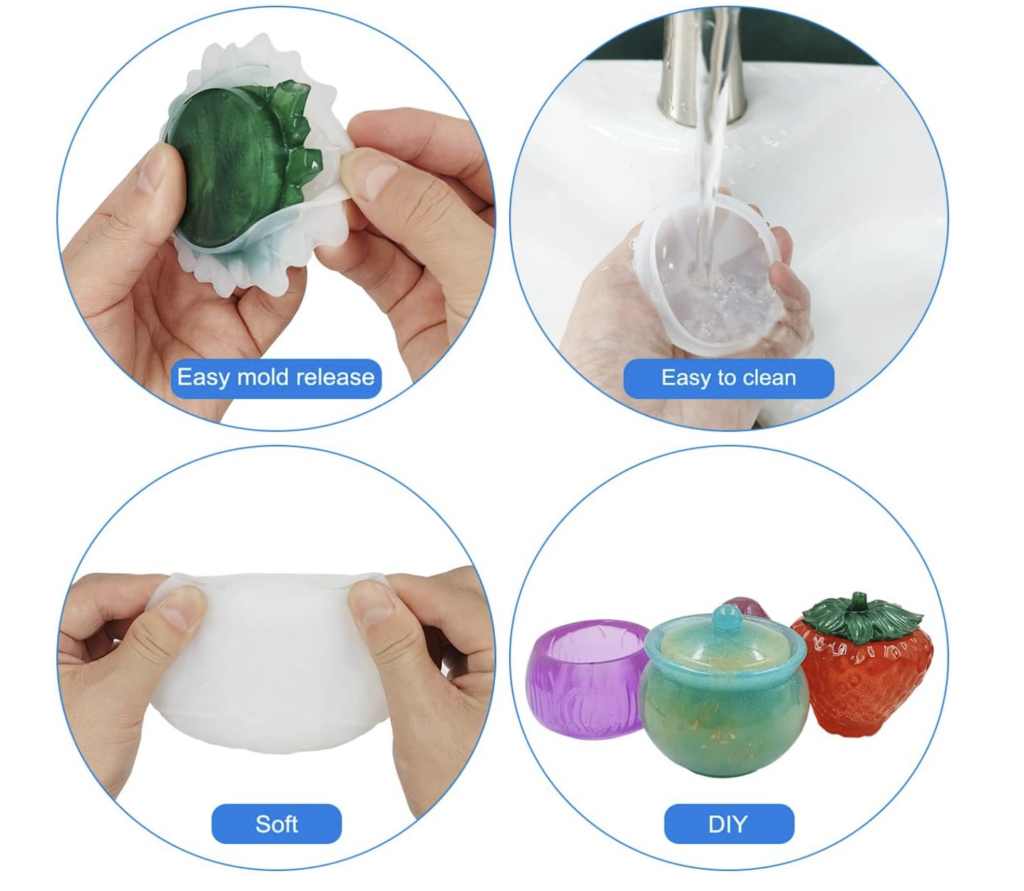
- Demold your beautiful resin piece! Silicone is great because resin does not stick to it easily . This helps keep details sharp.
- Sanding resin after demolding or polishing resin casts from molds might be needed for a perfect finish.
What if you don’t have silicone? How do you make molds at home without silicone? You could use plastic containers or even laminated paper for simple shapes, but silicone is best for details and reuse .
Learning More
Want to become a mold-making master?
- Watch YouTube Tutorials from channels like Brickintheyard, Robert Tolone, or Sophie and Toffee. Many videos show how to make silicone molds – for resin casting .
- Read guides on Instructables (DIY Platform).
- Join online groups like Reddit r/ResinCasting or Silicone Mould Makers (Facebook Groups).
- Look for mold-making workshops/classes or Udemy Courses.
- Check out suppliers like Masterdam Moulds.
Making silicone molds for resin opens up so many creative possibilities . You can make custom mold sizes/shapes for resin art, mold-making for resin jewelry, silicone molds for candle making, or even silicone mold for soap/resin hybrids. From a tiny resin charm to a huge tabletop, you can mold it! Start with a simple project, practice your budget-friendly mold-making techniques, and soon you’ll be making artistic silicone mold designs. You can even explore related crafts like using silicone for concrete & stone molding or maybe even silicone for shoe mold making. The best material is often silicone for resin mold making. Happy making!