
If you have ever tried to brush regular acrylic paint onto a cured silicone mold, you already know the frustration: as soon as the silicone flexes, the paint cracks and peels right off like dry skin.
This happens because silicone behaves exactly like a non-stick frying pan—its surface rejects almost every generic paint, primer, or spray can on the market.
To get vibrant, permanent color that stretches and bends with your silicone without flaking, you need to use the right materials and techniques. This guide will show you how to prepare your surfaces and paint your silicone projects successfully using professional, straightforward workshop methods.
The Golden Rule: Only Silicone Sticks to Silicone
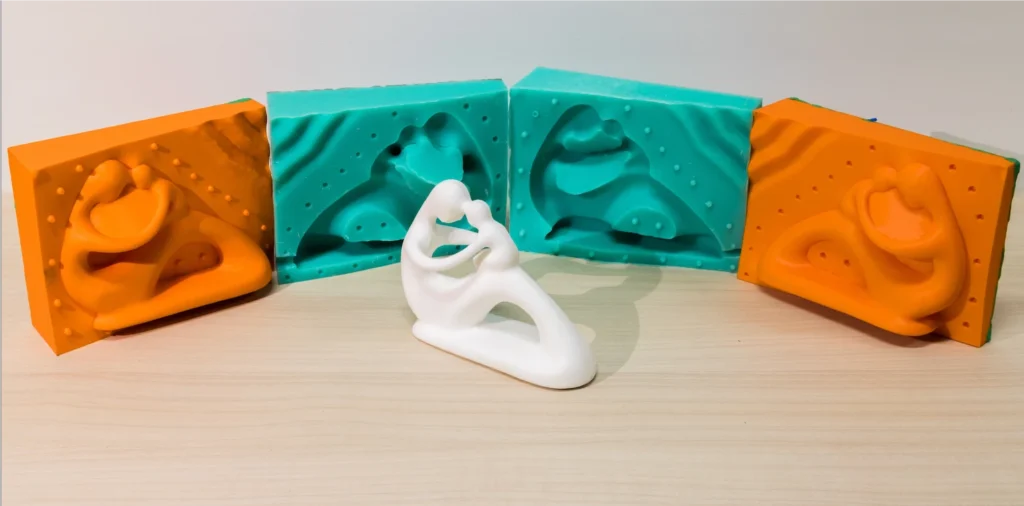
The secret to painting silicone isn’t finding a stronger glue; it’s using silicone-based ink.
Regular paints (like acrylics, oils, or urethanes) only sit on top of the rubber mechanically. When the rubber stretches, the paint cannot stretch with it.
Silicone paint, however, uses a fluid силикон платинового отверждения as its base carrier. When you mix this clear silicone base with specialized pigment concentrates and thin it down with a solvent, you are essentially applying a micro-thin layer of raw liquid rubber over your project. As it cures, it fuses directly into the original silicone block. They become one single piece that can be pulled and twisted without any color degradation.
What You Actually Need
Before you start, clean your workbench and gather these essential tools:
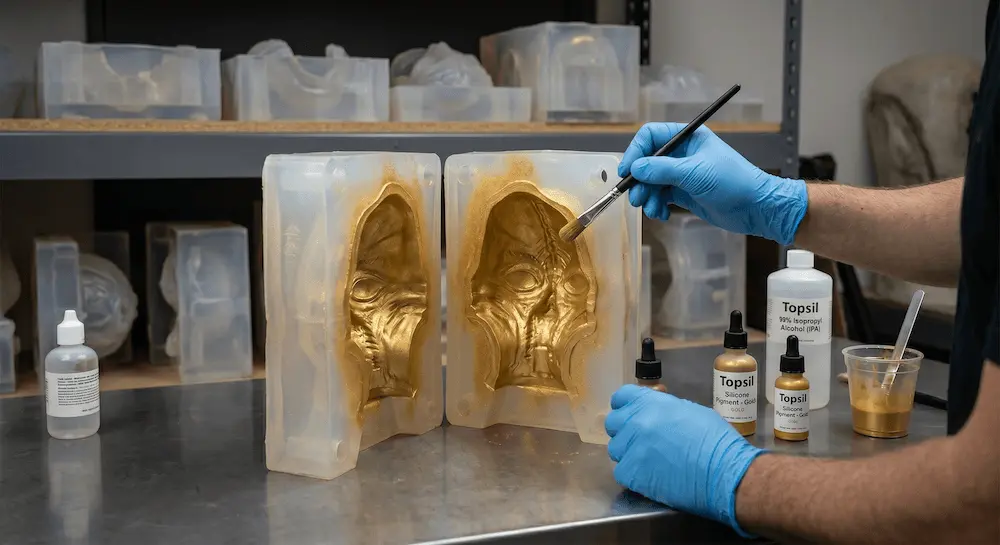
- Topsil Platinum RTV-2 Base (Clear): This acts as the translucent liquid carrier for your paint.
- Silicone Pigment Concentrates: High-strength color pastes designed specifically for addition-cure rubber.
- Silicone Solvent (Xylene or Odorless Mineral Spirits): Used to thin down the thick silicone so it can flow through an airbrush or smooth out brush strokes.
- 99% Isopropyl Alcohol (IPA): For deep cleaning and degreasing.
- An Airbrush or Soft Technical Brushes: For applying the color layers.
Method 1: Painting the Surface (Post-Cure Painting)
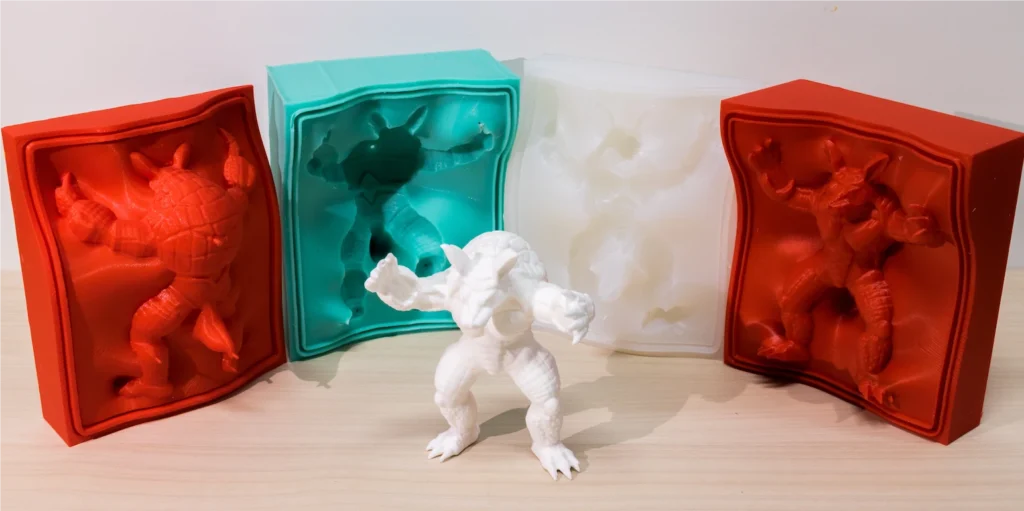
This method is ideal if you are coloring a finished silicone casting, such as a prosthetic piece, a soft robotic skin, or a flexible prop.
Step 1: Wash and Degrease Thoroughly
Silicone naturally migrates oils to its surface, and residual mold release agents will ruin your paint job. Wash your silicone part with warm water and dish soap, let it dry completely, and then wipe it down thoroughly with a microfiber cloth soaked in 99% IPA. Do not touch the surface with bare hands after this step.
Step 2: Mix Your Silicone Paint
On a digital scale, mix a small batch of your clear platinum silicone parts (usually a 1:1 ratio). Add your pigment paste slowly—never exceed 2% of the total weight, or the silicone might stay sticky and fail to cure. Finally, pour in your solvent (like xylene) at a 1:3 ratio (one part silicone to three parts solvent) until it reaches the consistency of thin milk.
Step 3: Apply in Thin Layers
Load the mixture into your airbrush or take a soft brush. Apply very light, mist-like coats. It is much better to apply three or four translucent layers than one heavy, thick layer. Let the solvent evaporate for a few minutes between each coat. Once finished, let the piece sit for 12 hours at room temperature (or pop it in a workshop oven at 80°C for 30 minutes) to lock the color in forever.
Method 2: Painting Inside the Mold (In-Mold Coating)
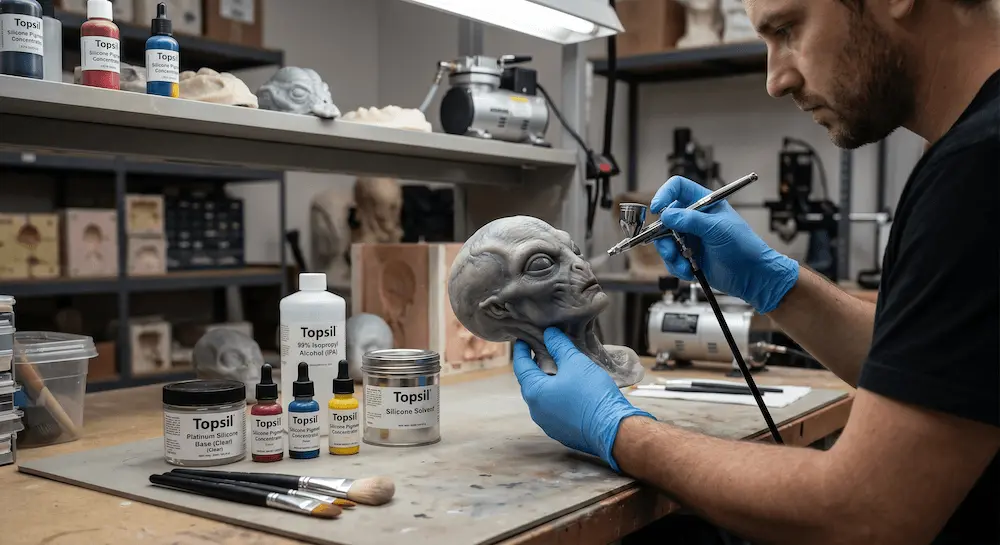
If you are mass-producing polyurethane resin figures, hard plastic parts, or foam castings, Reverse Painting inside the mold is the fastest, cleanest industrial workflow.
Plaintext
  1. Spray/brush pigmented silicone ink directly onto the clean mold walls.
  2. Let the solvent dry for 15 minutes until the paint layer is slightly tacky.
  3. Pour your liquid casting resin (epoxy or polyurethane) into the mold.
  4. As the resin cures, its heat locks the color permanently onto the plastic part.
When you open the mold, the paint completely detaches from the rubber and comes out chemically welded as the outer skin of your resin product. No post-painting required.
Quick Troubleshooting Shop Tips
Why is my paint still sticky after 24 hours?
This is called ингибирование излечения. It usually happens if your solvent had impurities, you added too much pigment paste (over 2%), or your mixing container had traces of sulfur, latex, or uncured 3D printing resin. Always use clean mixing tools and stick to verified silicone pigments.
How do I get a matte finish instead of a shiny, glossy look?
If your paint looks too glossy, you can lightly dust a micro-thin layer of cosmetic matting powder or cornstarch over the painted surface just before the silicone paint fully dries. Wipe away the excess powder after full cure for a perfectly realistic matte finish.