
Быстрый ответ
Test a silicone gel sample in three stages: screen cure and frame compatibility, verify the assembled gel seal, and confirm performance on the production line. Start with a control sample and actual contact materials, then evaluate channel filling, knife-edge engagement and leakage. Compare results with your existing material where available. Use documented test conditions and acceptance criteria to decide whether to investigate, continue the trial or approve production. A cured cup sample alone cannot establish seal reliability.
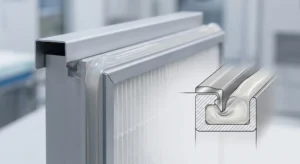
This guide covers perimeter gel channels that engage with a housing knife edge. For the broader sealing-system design, see our HEPA and ULPA filter silicone gel guide.
Before Mixing: Set Up a Fair Comparison
Start by identifying what you need the sample to demonstrate: compatibility with a new frame, replacement of an existing gel, or suitability for your dispensing equipment.
If you have an approved material, use it as a reference. Compare the same frame design, target fill height and leakage procedure, while following each material’s own mixing and cure instructions. Equal gel weight does not necessarily mean equal fill volume when densities differ.
Confirm the candidate’s mixing ratio, whether it is specified by weight or volume, and the recommended working and cure conditions. Check the material’s storage history and shelf life, and review the SDS.
Choose the cure evaluation method, fill-height limits and assembly test requirements before the relevant stage. Initial screening can identify obvious processing or compatibility problems; production approval requires the complete qualification evidence.
For an undecided grade, start with our silicone gel selection guide. For batch preparation and equipment checks, use our 1:1 silicone gel mixing and dispensing guide.
Stage 1: Screen Cure and Frame Compatibility
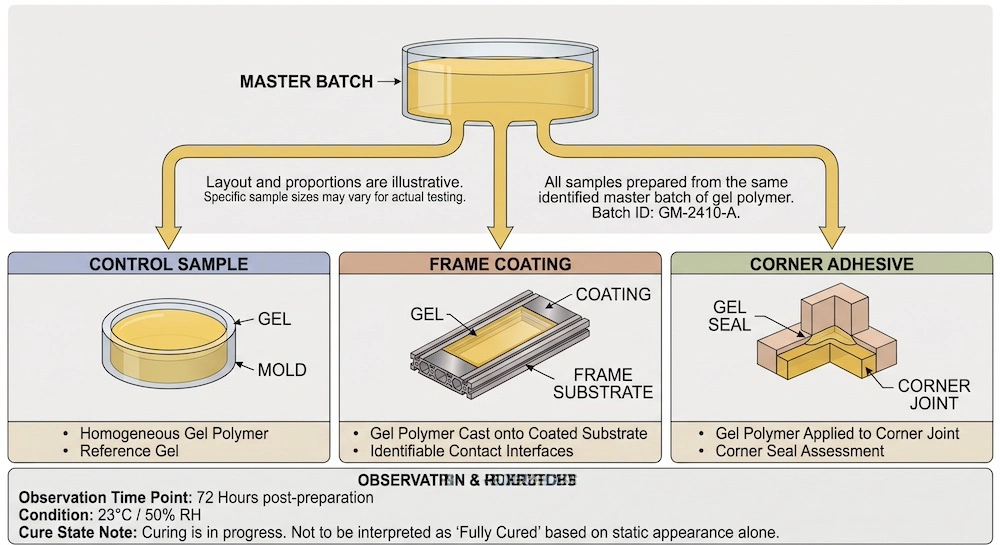
Prepare a small mix using the confirmed instructions. From that mix, make:
- A control specimen in a clean container known to be compatible with the gel.
- Contact specimens against the actual prepared frame coating and other relevant contact materials, including corner adhesives.
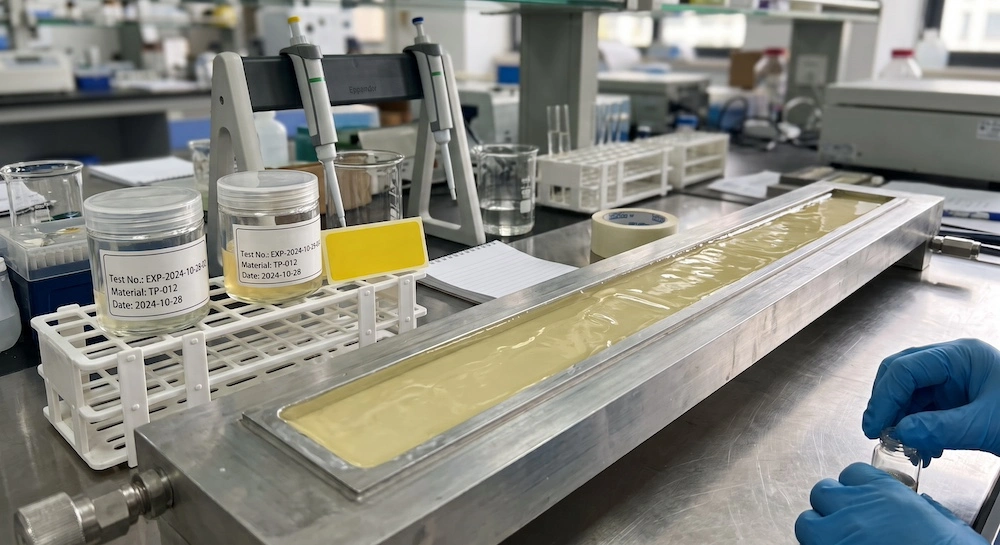
Use clean, dry tools and the intended production cleaning process. Label specimens so every observation can be traced to its material lot and mixing session. Keep specimen geometry and cure conditions comparable, and document differences.
With a coated frame and bonded corners, label coating-only and adhesive-contact specimens separately. A single specimen containing every contact material can expose a problem but makes its source harder to identify. Keep the initial mixture and cure conditions comparable so the contact surface is the main planned difference.
At the planned evaluation time, look for localized liquid areas, patchy consistency or differences confined to a contact interface. Compare these observations with the expected cured condition for the grade.
WACKER’s RTV processing guide describes cure inhibition in addition-curing silicones and supports preliminary compatibility testing of unfamiliar contact materials.
A soft or tacky gel is not automatically undercured. Those characteristics may be intentional. Use the evaluation method agreed for the grade. If penetration testing is specified, keep its instrument, specimen preparation and conditions consistent; a generic Shore A target may be unsuitable for a very soft gel.
Distinguish the time at which a frame can be moved from the time at which final sealing performance should be evaluated. If you need accelerated curing, confirm the schedule and test that process on representative frames.
Proceed to full-frame trials once the relevant screening questions are resolved. Prepare fresh material for subsequent trials rather than retaining mixed gel beyond its working window.
Stage 2: Verify the Seal in the Actual Filter Design
Check filling and knife-edge engagement
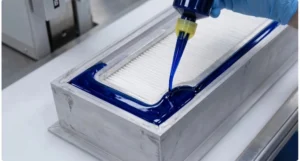
Fill a representative frame to the intended height and let it reach the required cure condition. Inspect straight sections, corners, joints and the filling start/finish area.
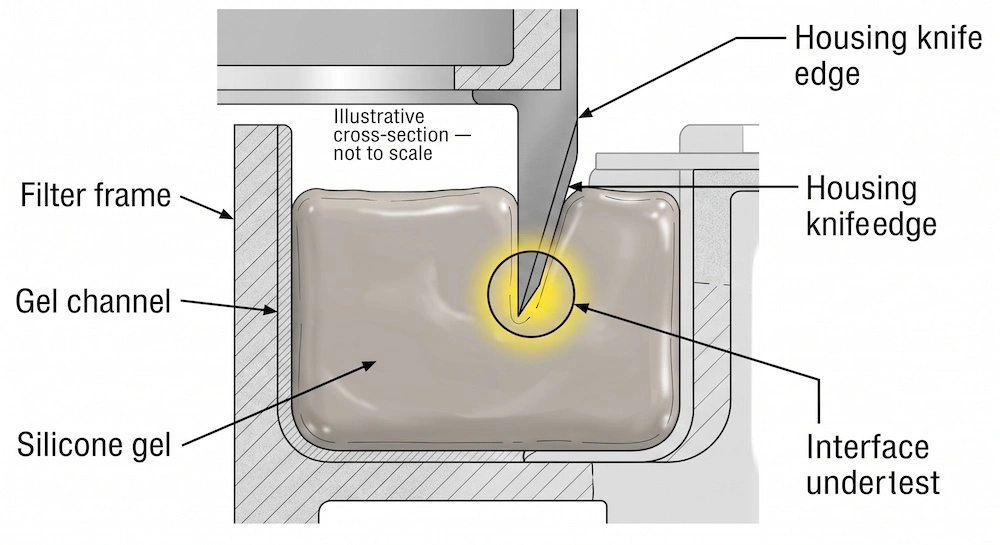
Use local fill-height checks alongside the frame’s net weight increase. Correct total gel mass can conceal an underfilled corner.
Install the representative knife edge at the planned alignment and insertion depth. Check for continuous engagement, local gaps, excessive displacement and overflow. Photograph suspect locations so you can revisit the same areas during subsequent tests.
If removal and reinstallation are part of the application, include that sequence and repeat the relevant sealing check afterward. A recovered-looking surface does not prove restored sealing performance.
Confirm what the leakage test actually measures
Does the fixture test the gel-to-knife-edge interface used in service?
A fixture that seals around this interface with a separate gasket cannot establish the intended gel seal’s performance. Use the actual assembly or a validated fixture representing the relevant interface.
Apply the project’s test method, operating conditions and acceptance limits. ISO 29463-4 covers leakage testing of filter elements; it does not certify silicone gel raw materials. Installed-system requirements also need consideration where applicable.
Locate any leak before changing the gel. Possible sources include the gel interface, media, frame joints and fixture seals.
For required environmental testing, define the exposure conditions and compare relevant properties and sealing performance before and after exposure. Include cleaning agents only where relevant, specifying their identity, concentration, temperature and contact time. A short exposure trial cannot establish a multi-year service life.
Stage 3: Confirm the Process on Production Equipment
Run a controlled trial using the intended equipment, frame design and operating range. Include representative batch sizes, delivery rates and planned interruptions. For automatic dispensing, verify component delivery and mixing quality separately.
Measure the time needed for dispensing and handling, net gel per filter, setup and purge waste, and the number of acceptable filters produced. These results show whether the candidate fits your production cycle and help compare material consumption and processing cost per acceptable filter.
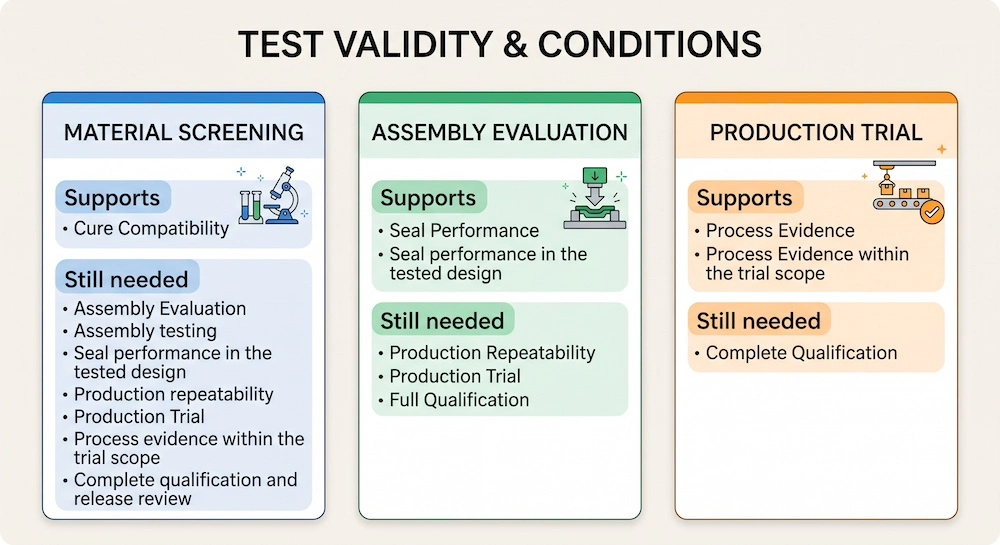
Keep the reference material’s results alongside the candidate’s where available. Record any changes in cure schedule, equipment settings or handling requirements needed by the candidate.
Repeat independent mixes and cover additional variation—such as material lots or shifts—as required by the qualification plan. Several specimens from one cup do not establish consistency between separate mixes.
Use the completed trial to define the approved operating range, routine checks and restart procedure. Sample acceptance should lead to a documented production process.
If a Trial Fails, Choose the Next Check
Use the pattern of the problem to narrow the investigation. These observations are clues, not proof of a particular cause.
| What you observe | What to check next |
| Control and contact specimens both contain unexpected liquid areas | Recheck measured ratio, mixing, material condition and cure temperature/time. |
| Control cures as expected, but one contact interface remains liquid | Test the coating, adhesive and cleaning residue separately with fresh controls. |
| Cure appears normal, but voids recur at a corner or filling closure | Examine local delivery, frame level and channel geometry. |
| Hand-mixed specimens behave normally, but machine-dispensed specimens do not | Check component delivery ratio and mixing quality separately under comparable conditions. |
| Leakage repeats at the same location | Inspect that part of the gel path, frame joint and fixture before assigning the cause to the gel. |
Change one suspected factor at a time, retain the original observations and repeat the affected check. This keeps a successful adjustment from hiding an unresolved problem elsewhere.
What Does a Passing Result Actually Prove?
Use each result within the conditions and scope of the test.
| Evidence obtained | What it supports | What remains to establish |
| Control and contact specimens meet the screening requirements | Cure and compatibility under the tested conditions | Performance in the assembled sealing geometry |
| A representative assembly passes its specified tests | Performance of that assembly under the recorded conditions | Repeatability on the intended production process |
| The controlled production trial meets its planned criteria | Evidence for the quality team’s production-release decision | Closure of any remaining qualification requirements and routine process controls |
Do not extend approval automatically to an untested frame finish, material combination or process change. Resolve missing results before releasing production within the proposed scope.
Use a Simple Sample Test Record
Give each record a trial ID. In its header, identify the material grade and A/B lots, TDS revision, frame drawing, operator and date. Keep separate records for the candidate and reference material.
Enter the method and acceptance requirement before testing. Record observations or measured values alongside pass/fail decisions.
| Test item | Method and conditions | Acceptance requirement | Actual result |
| Control cure | — | — | — |
| Frame-contact compatibility | — | — | — |
| Fill height and knife-edge engagement | — | — | — |
| Assembly leakage | — | — | — |
| Required exposure and retest | — | — | — |
| Production trial | — | — | — |
Include actual mix quantities, temperature, elapsed cure time and specimen geometry in the relevant method entry. Attach photos and test reports to the same trial ID. This is a blank record template, not a report of completed TP-012 tests.
ЧАСТО ЗАДАВАЕМЫЕ ВОПРОСЫ
Get TP-012 Technical Data and Sample Testing Guidance
Evaluating TP-012 silicone gel for air filter sealing? Request the current TDS and sample-testing guidance from Topsil silicone.
To start, send:
- A photo or drawing of your gel channel.
- Your mixing method: manual or automatic.
- The main requirement you need the sample to meet.
RECOMMENDED NEXT STEP
These details help focus the discussion on material suitability, preparation and the checks relevant to your filter design. If a trial has already shown a problem, you can also include its record and photos of the affected area.
Get TP-012 Technical Data