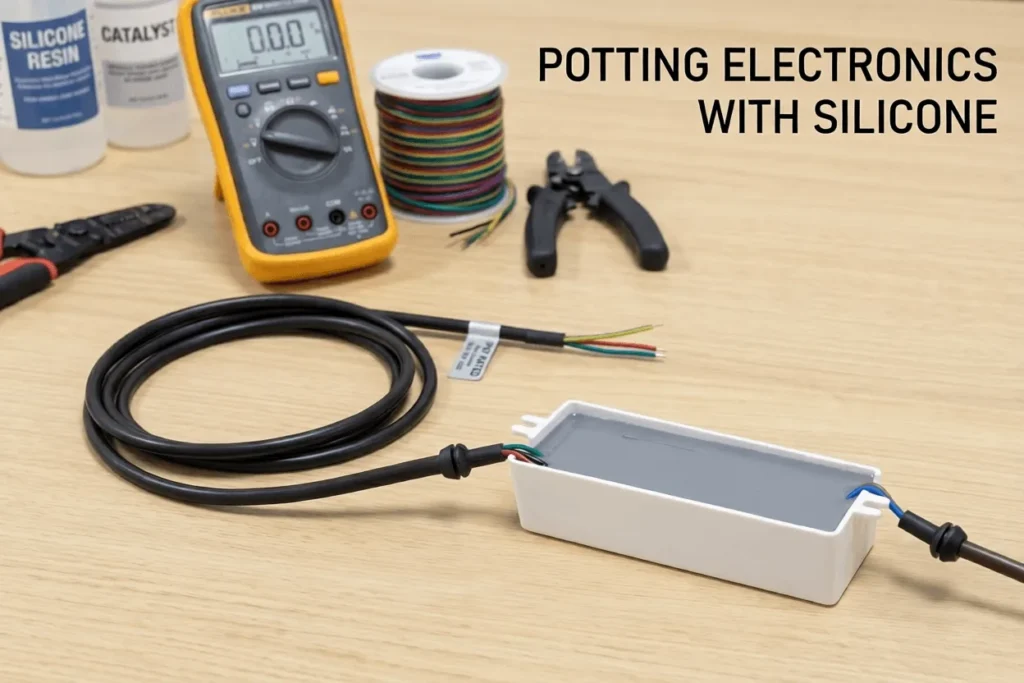

Learning how to pot electronics with silicone properly is critical for process engineers aiming to prevent voids, ensure insulation, and maintain line throughput. This technical guide outlines the professional end-to-end vacuum potting process, material selection criteria, and how to avoid costly production-line field failures like cure inhibition.
Before diving into the machinery and mixing ratios, you must first source the correct chemistry class from a reliable manufacturer of potting & encapsulation silicone for electronics to match your specific thermal and mechanical specifications.
How to Pot Electronics with Silicone — Step by Step
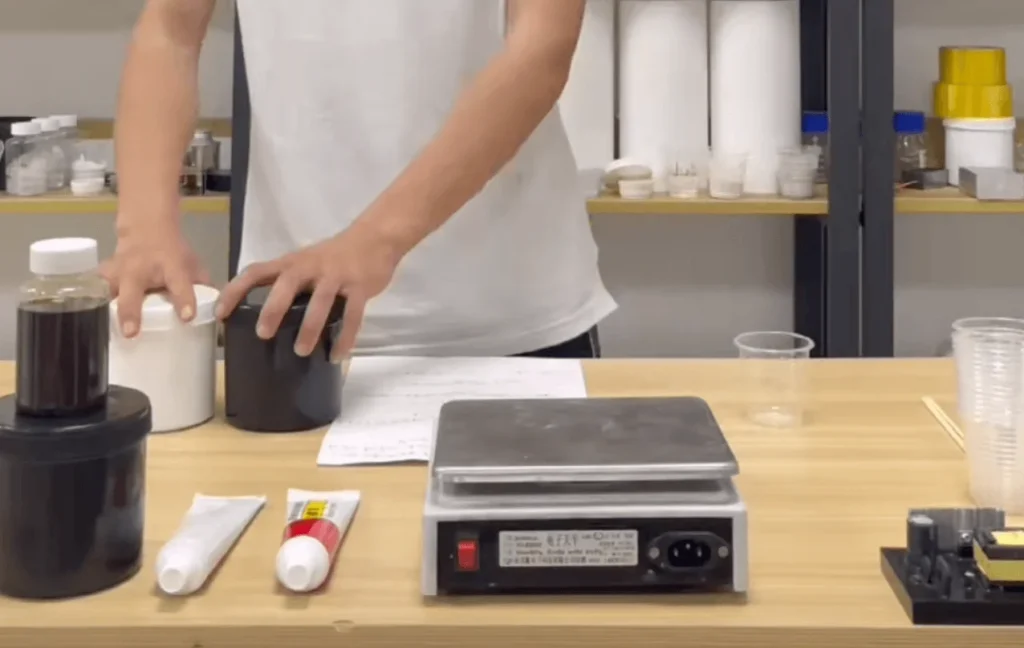
For this run, we’re using a TOPSIL two-part platinum-cure system. It mixes into that clean, industrial slate-grey color you’ve probably seen in our workshop tests. Getting a perfect cure isn’t about textbook theory—it comes down to bench discipline. If you follow these five phases precisely, you’ll avoid the classic mistakes that ruin boards and tank your yield rates.
Step 1: Surface Preparation & The Moisture Trap
Silicones are usually pretty forgiving materials, but they won’t stick to a dirty board. You need a completely pristine substrate if you want a mechanical seal that actually lasts.
- The Defluxing Routine: If your PCB is fresh off the wave soldering line, it’s carrying residual flux oils, finger grease, and microscopic dust. I always give the boards a thorough wash with Isopropyl Alcohol (IPA). If you skip this step, the silicone won’t bond cleanly to the components, leaving micro-gaps down the road where moisture can creep in.
- The Pre-Bake (Don’t Skip This): Those white plastic housings and PCB laminates look bone dry, but plastics love to hide atmospheric moisture. I always pop the empty housings into the batch oven at 60°C to 80°C for about 1 to 2 hours before potting. Driving out this hidden moisture prevents “outgassing”—which is exactly what causes those frustrating, tiny moisture bubbles right at the interface when the material hits the heat cure. Just let everything cool back down to room temp before you pour.
Step 2: Precise Measuring & The “Cup Wall” Mistake
Because we are working with a two-part system (Part A and Part B), getting the mix ratio right is the difference between a tough protective block and a sticky, uncured mess.
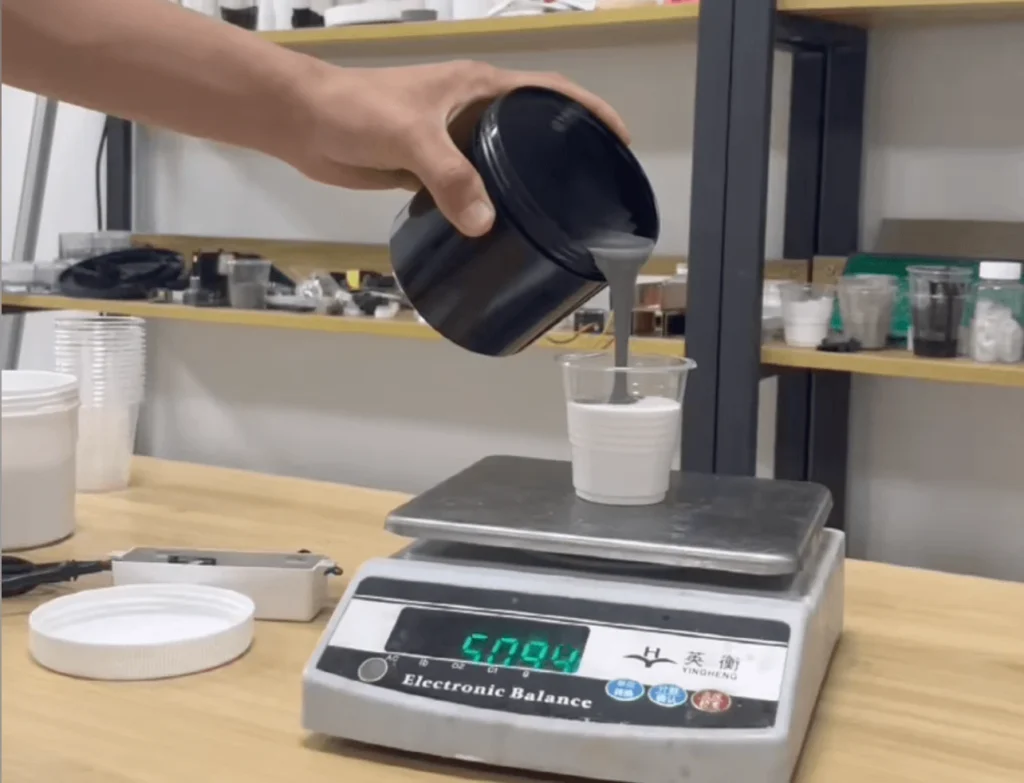
- Weight vs. Volume: Always double-check your datasheet. Part A and Part B rarely have the same density (specific gravity). A 1:1 ratio by weight can look totally different if you try to eye-measure it in a volumetric beaker. Save yourself the trouble and always use a calibrated digital scale.
- The Mixing Technique: If you are mixing manually in a cup for prototypes or small batches, stir steadily.
(Note: For full-scale production lines, this is exactly where you’ll want to switch to automated meter-mix dispensing equipment with a static mixing tip to take human error completely out of the equation).
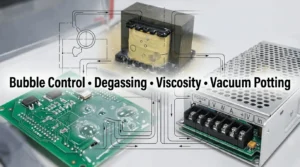
Step 3: Vacuum Degassing (The “Volcano” Effect)
Stirring that thick, grey TOPSIL compound whips a massive amount of structural air into the liquid. If you leave those bubbles inside, your high-voltage components will suffer from localized corona discharge or total electrical breakdown. You need to pull a vacuum.
- The 4x Expansion Rule: When you seal the container inside the chamber and pull a minimum of 29 in-Hg (737 mm-Hg) of vacuum, the trapped air expands instantly. That slate-grey liquid is going to rise like a mini-volcano, swelling to 3 to 4 times its original volume. If your mixing cup is more than a quarter full, it will overflow and leave you with a nightmare of a cleanup job on your chamber floor.
- Watching the Collapse: Keep your eyes glued to the viewing window. The foam head will rise to its peak, break, and suddenly collapse back down to its baseline level. Once it drops, don’t stop just yet—leave the vacuum running for an additional 2 to 3 minutes to pull out the remaining microscopic micro-bubbles until the surface looks glass-smooth.
Related Reading: Silikonun Gazını Alma: Silikondan Kabarcıklar Nasıl Çıkarılır
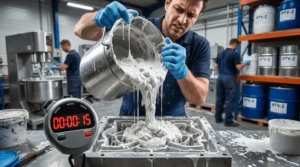
Step 4: The Single-Point Pouring Technique
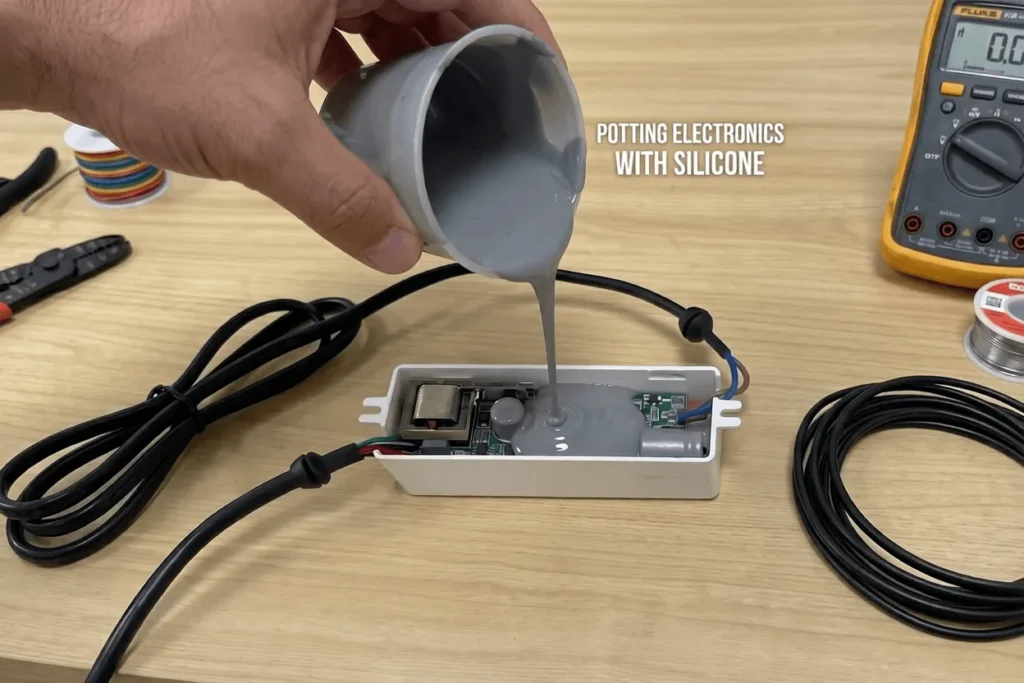
How you actually pour the silicone into the white plastic shell dictates whether you trap fresh air pockets underneath your components.
- Pick One Spot and Stay There: Look at your housing and find a single spot—ideally the lowest point or an open corner away from bulky transformers or capacitors. Hold your nozzle or cup right there and pour in a steady, continuous stream.
- Let It Rise: Let the grey silicone pool at the bottom and rise up naturally around the circuitry. This fluid motion gently coaxes the atmospheric air upward and out of the housing, rather than trapping it.
- The Classic Mistake: Never wave the cup around or pour globally across the top of the board. If you dump silicone all over a crowded PCB from above, the liquid acts like a heavy blanket, trapping massive air pockets under chips, bridges, and inductors that you’ll never see from the surface until it’s too late.
Step 5: Curing Profiles (Managing the Clock)
Once the grey compound covers the wires and reaches the lip of the housing, the chemical clock starts ticking.
- Respect the Pot Life: Always keep an eye on your batch working time. Once the silicone starts thickening up and losing its self-leveling gloss, stop pouring. Forcing thick, semi-gelled material onto a board guarantees trapped voids.
- Choosing Your Career Track:
- Room Temperature (25°C): If your can afford to wait, just leave the potted modules on the bench. They will become tack-free within a few hours and develop full mechanical and dielectric properties over a standard 24-hour window.
- Thermal Acceleration: If you need to clear floor space and speed up your throughput, heat is your best friend. By passing the potted modules through a heat tunnel or a batch oven at 80°C, you can compress that 24-hour room cure down to a blistering 15 to 30 minutes without losing a single bit of insulation performance.
Troubleshooting Common Silicone Potting Failures
Even with a robust Standard Operating Procedure (SOP), variances in ambient humidity, substrate contamination, or mixing equipment calibration can introduce defects. Use the quick-reference matrix below to diagnose and resolve common line issues when potting electronics with silicone.
| Symptom | Potential Root Cause | Corrective Action |
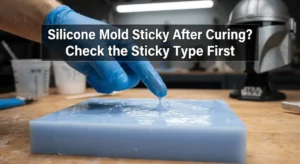
| Sticky or Tacky Surface / Incomplete Interface Cure | 1. Surface contamination causing catalyst poisoning (cure inhibition). 2. Off-ratio mixing (Part A/B imbalance). | 1. Implement a strict Isopropyl Alcohol (IPA) cleaning and pre-bake stage; switch from latex to nitrile gloves. 2. Recalibrate meter-mix dispensing equipment; verify weight ratios on a high-precision scale. |
| Internal Voids or Bubbles Trapped Beneath PCBs | 1. Inadequate vacuum depth or duration. 2. Dual-stream or top-down cascading pour technique. | 1. Ensure the vacuum chamber pulls at least 29 in-Hg; maintain the vacuum for 2–3 minutes sonra the foam head collapses. 2. Shift the dispensing nozzle to a single, lowest point on the housing and allow the silicone to rise naturally. |
| Delamination / Loss of Adhesion to Housing | 1. High residual moisture or flux oils on substrates. 2. High shrinkage or mismatch in Coefficient of Thermal Expansion (CTE). | 1. Optimize the pre-potting bake cycle to dry plastic housings completely. 2. Switch to a lower-modulus, high-elasticity silicone gel for electronics to absorb mechanical stress during thermal cycling. |