
For commercial candle manufacturers, a custom silicone candle mold is a critical production asset. Intricate 3D geometries, detailed pillars, and sculptural wax designs demand a mold material that can stretch without tearing while maintaining absolute dimensional stability over hundreds of pouring cycles.
This professional guide outlines the exact 9-step workflow to manufacture premium RTV-2 silicone molds and cast flawless candles on your workbench.
Materials You Need
- Candle master model (Wax, resin, ceramic, or 3D print)
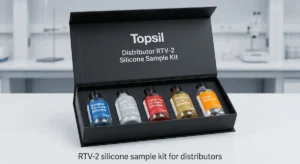
- TOPSIL RTV-2 Tin-Cure Silicone Rubber (Ideal for natural wax release)
- Mixing container & flat-edged stirring stick
- Digital scale (For accurate weight-ratio dosing)
- Baseboard & heavy-duty anchoring glue
- Rigid mold walls (Acrylic sheets or PVC cylinders)
- Low-tack rubber bands & sealing clay/hot glue
- Premium candle wax & wicks
- Safety gloves & a razor-sharp utility knife
Step 1: Fix the Master Model onto the Base
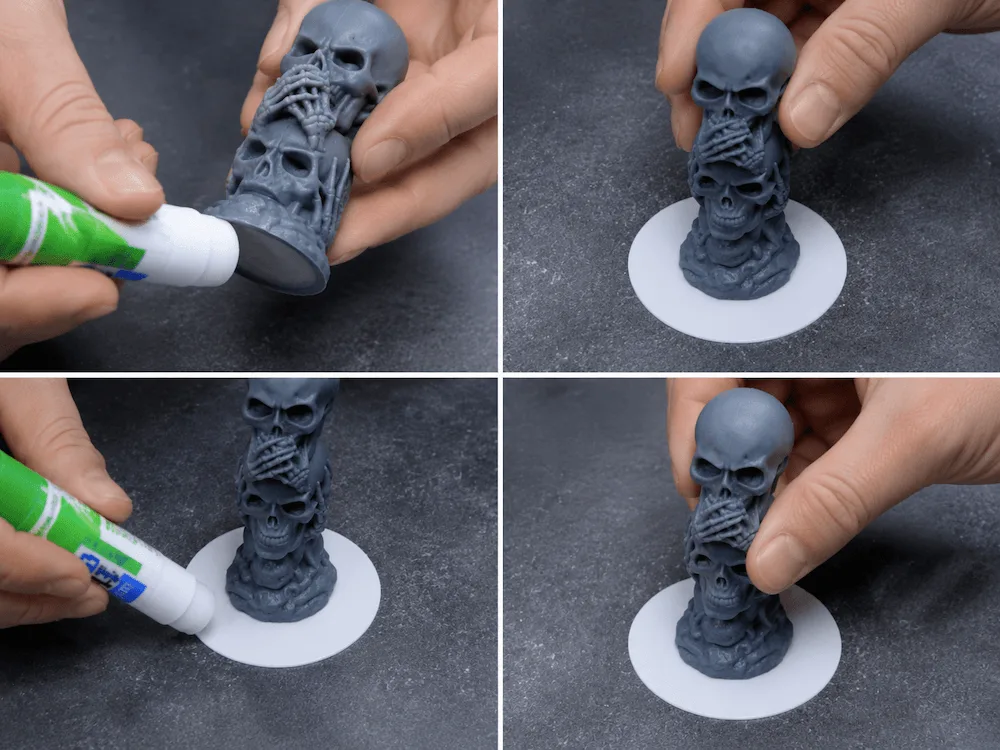
Start with a pristine, completely dry candle master model. Scrub away all dust, fingerprints, or surface oily residues. Apply a heavy-duty adhesive to the bottom of the master and fix it firmly onto your flat baseboard.
⚠️ Critical Shop-Floor Warning: Candle masters made of wax or hollow 3D prints are incredibly lightweight, while liquid RTV-2 silicone is dense and heavy. If your glue anchor is weak, the master will break free and float to the top like a submarine mid-pour, completely destroying your material batch.
Step 2: Build the Mold Wall Around the Master
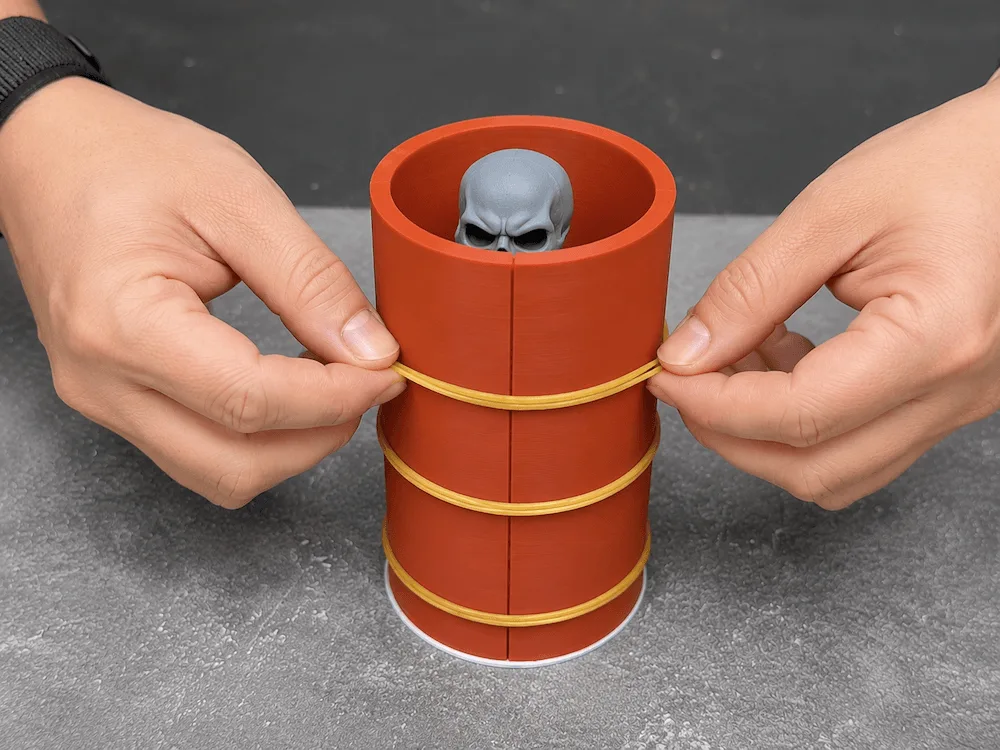
Once the master is locked down, assemble your rigid mold walls or cylinder barrier around it, maintaining a consistent 10mm to 15mm wall clearance buffer on all sides. Seal every outer bottom seam and vertical corner aggressively using hot glue or heavy clay. Silicone is highly fluid before it cross-links; a single unsealed hairline gap will lead to a catastrophic leak across your bench.
Step 3: Mix the RTV-2 Silicone
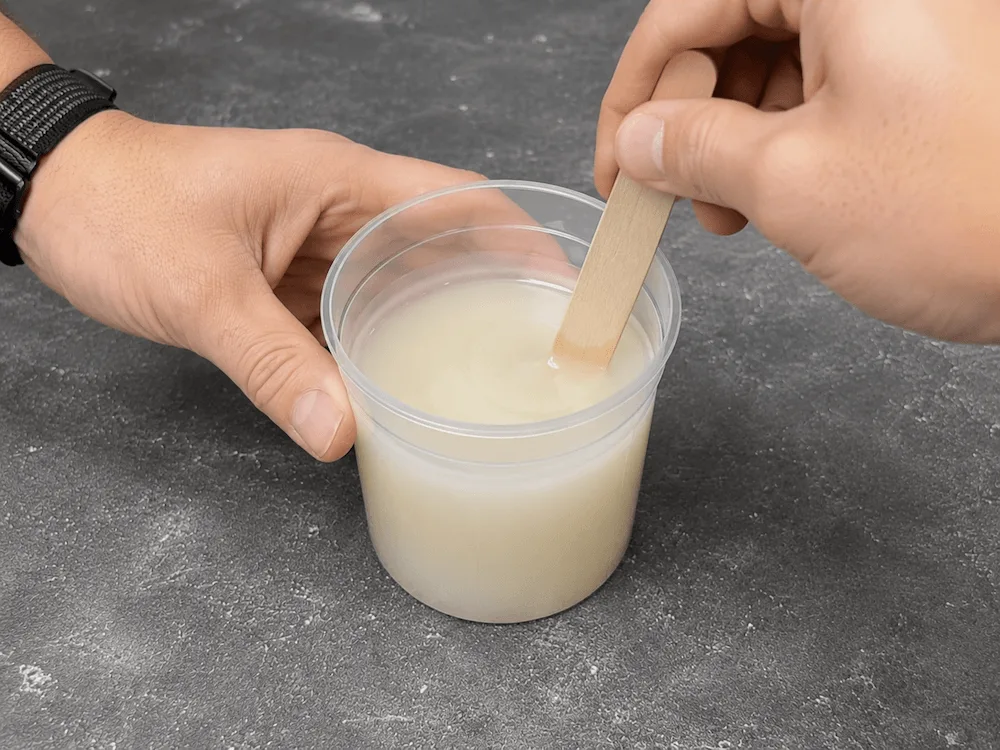
Weigh out your Part A (Silicone Base) and Part B (Catalyst) using a digital scale according to the exact weight ratio on your TOPSIL datasheet. Stir slowly and methodically in a controlled circle, scraping the bottom corners and perimeter of your mixing pail. Avoid aggressive whipping or beating, which forces unnecessary atmospheric air bubbles into the rubber matrix.
Step 4: Pour the Silicone into the Mold Box
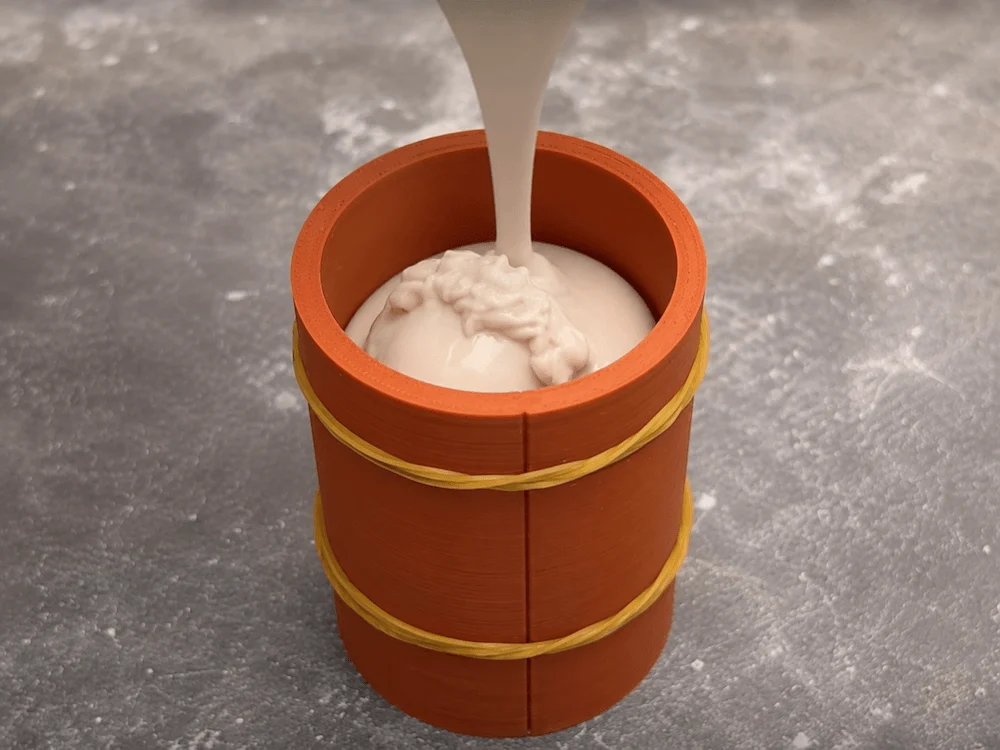
Position your mixing container at a high elevation and pour the mixed silicone in a razor-thin, steady stream into one single low corner of the mold box. Let the liquid rise naturally from the bottom up around the candle master. This single-point pouring technique allows the rising fluid to displace air smoothly, preventing micro-voids from trapping inside fine text, deep textures, and undercuts.
Step 5: Let the Silicone Cure Completely
Leave the filled mold box completely undisturbed at room temperature for 16 to 24 hours. Do not tilt, move, or poke the rubber prematurely. Even if the surface feels tack-free after a few hours, the core of the silicone block requires the full chemical cross-linking clock to achieve its maximum tear strength, elastic recovery, and non-sticky finish.
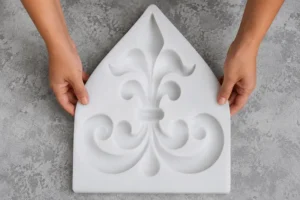
Step 6: Remove the Mold Wall and Demold the Master
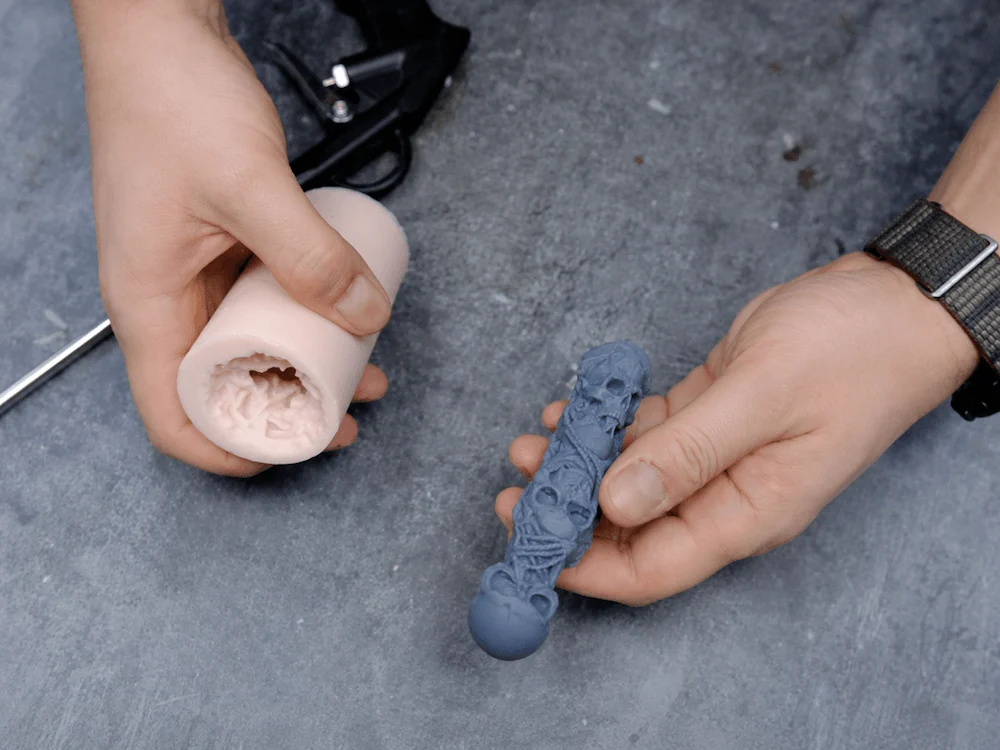
Once fully cured, strip away the rubber bands and take off the outer mold walls. Gently peel the flexible silicone block away from the master model.
- The Pro Splitting Trick: For highly complex 3D shapes with deep vertical undercuts, do not force the master out. Use an ultra-sharp scalpel to execute an interlocking zig-zag or wavy slit cut down one side. This zig-zag cut acts as a built-in alignment key, ensuring the seam locks perfectly airtight during future wax pours without leaking.
Step 7: Prepare the Candle Wick
Pierce a tiny guide hole through the exact top-center of your newly created silicone cavity. Thread your candle wick tightly through the hole, pulling it taut. Secure the wick at the open bottom using a centering clip, popsicle stick, or bow tie tool. If the wick drifts even a few millimeters off-center, the finished candle will burn unevenly and tunnel.
Step 8: Pour Melted Wax into the Silicone Mold
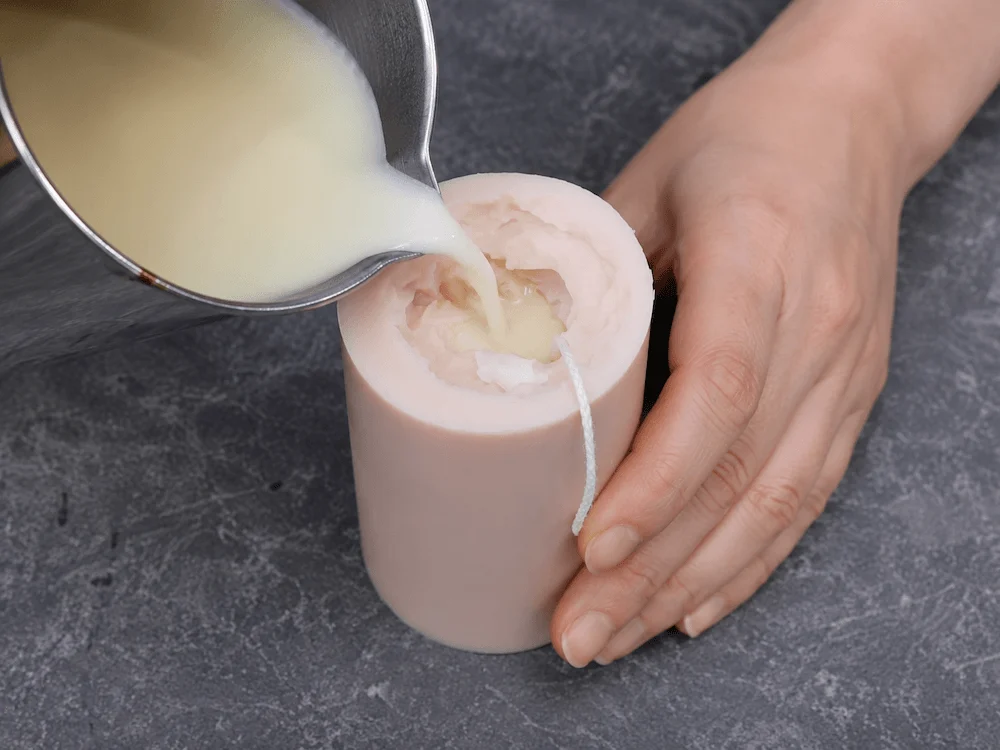
Melt your wax blend (Soy, Paraffin, or Coconut) to the supplier’s optimal pouring temperature—typically between 65°C and 80°C. Avoid pouring scalding hot wax (above 95°C). Excessive heat spikes degrade the silicone network prematurely, causing the mold interior to become sticky over time. Pour smoothly and steadily to eliminate internal air pockets and surface splashing.
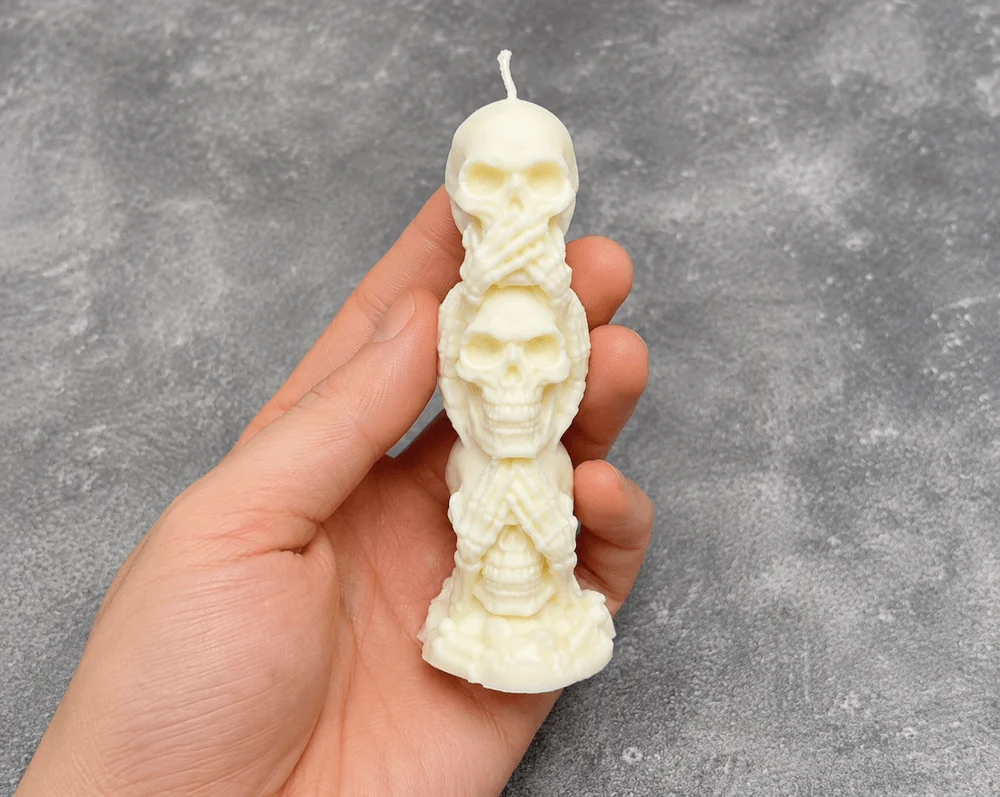
Step 9: Let the Wax Cool and Demold the Candle
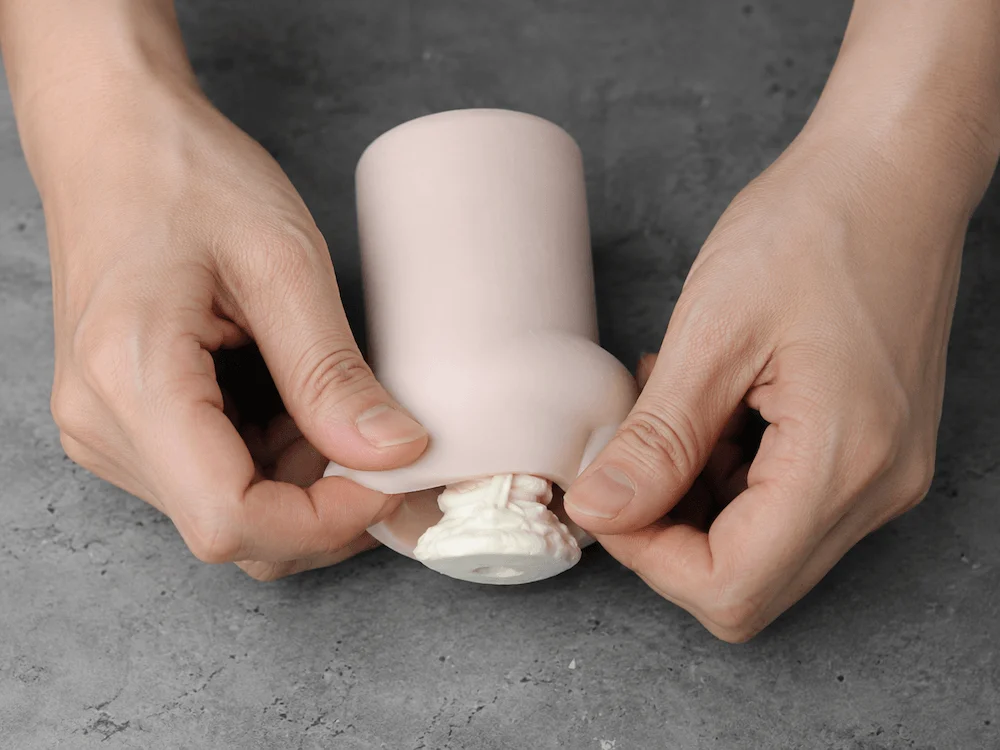
Set the filled mold aside and let the wax cool naturally to room temperature. Do not rush this process by placing it in a freezer, as rapid cooling causes structural shrinkage and unseemly sinkholes around the wick. Once the wax has completely hardened, gently flex the silicone mold walls outward, release your rubber bands/zig-zag seams, and pop out a flawless, highly detailed candle. Trim the wick to finish.
🚫 Common Production Mistakes to Avoid
| Production Mistake | Immediate Consequence | Professional Corrective Method |
| Weak Master Gluing | Master detaches and floats to the top, ruining the mold shape. | Use heavy industrial hot glue; pressure-test the anchor before pouring rubber. |
| Unsealed Mold Enclosure | Liquid silicone leaks out completely onto the workbench. | Seal all external seams aggressively with heavy clay or hot glue. |
| Whipped/Fast Mixing | Massive air pockets and surface pinholes on the mold cavity. | Stir slowly in one direction; scrape container corners continuously. |
| Direct Overhead Pouring | Air gets trapped inside deep textures and facial details. | Always pour in a thin stream from a single low point of the box. |
| Premature Demolding | Permanent mold deformation, tearing, or surface stickiness. | Respect the full 16-24 hour curing clock on the datasheet. |
| Pouring Scalding Hot Wax | Accelerated mold embrittlement, rubber aging, and stickiness. | Cool wax to recommended casting temperatures before filling the mold. |