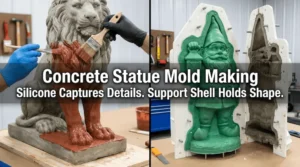

Making a high-fidelity silicone mold for concrete—whether you are replicating architectural stone panels, cultural bricks, or heavy cladding tiles—demands a material that can survive brutal chemical and physical wear.
Because wet concrete exerts massive hydrostatic pressure and features highly abrasive aggregates, a generic DIY approach will fail on the very first pour. This industrial guide outlines the professional brush-on technique, void prevention, and the non-negotiable step of building a rigid support shell for long-term mold life.
The Bench Checklist: Why RTV-2 Tin-Cure Reigns Supreme for Concrete
Do not use retail silicone caulks or low-tier resins. Concrete is highly alkaline and releases significant exotherm (heat) during cure.
For serial production runs, professional mold makers universally specify RTV-2 Tin-Cure (Condensation) Silicone Rubber. Tin-cure chemistry delivers exceptional tearing resistance against jagged gravel and locks in dimensional stability. It possesses a natural immunity to the caustic pH of wet cement, all while keeping your raw material costs highly competitive.
Step 1: Draw or Prepare the Pattern
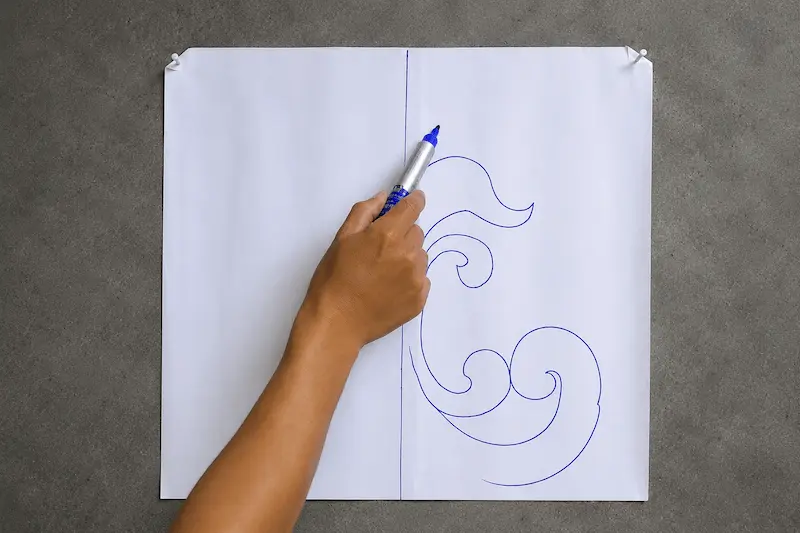
Start by drawing your design on paper. It can be a simple shape, stone texture, floral pattern, border, or decorative panel.
If you already have a master model, such as a concrete tile or stone panel, you can use it directly. Make sure the surface is clean, stable, and free from loose particles.
Step 2: Transfer the Pattern Onto a Cement Block
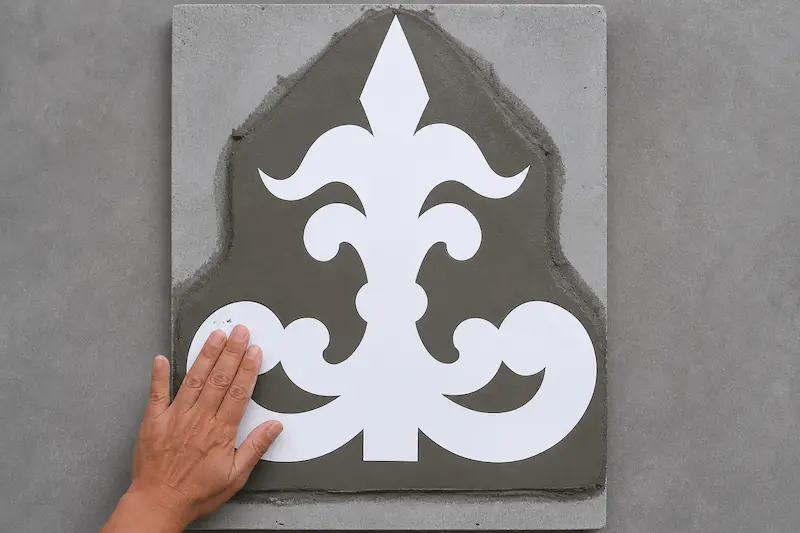
Place the paper design over the cement block and trace the outline onto the surface.
The traced lines will guide you when shaping the cement pattern. Start with the main outline first, then refine the smaller details later.
Step 3: Apply Cement and Shape the Design
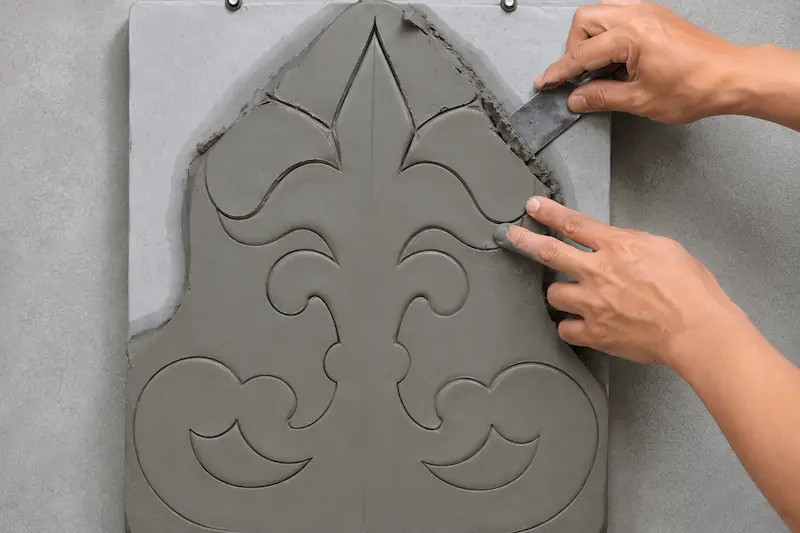
Apply fresh cement or mortar onto the marked area. Use a scraper, spatula, or small tool to shape the pattern.
Remove extra cement around the design and refine the edges carefully. The cleaner the master model is, the cleaner the silicone mold will be.
Let the cement master model fully harden before applying silicone. Do not apply silicone over wet, soft, or unstable cement.
Step 4: Build the Mold Box
Place the hardened master model inside a mold box. Leave enough space around the sides so the silicone mold has enough thickness.
Seal the edges and corners of the mold box with clay, hot glue, or sealant to prevent leakage.
The mold box should be stable enough to hold the silicone during brushing and curing.
Step 5: Apply Release Agent
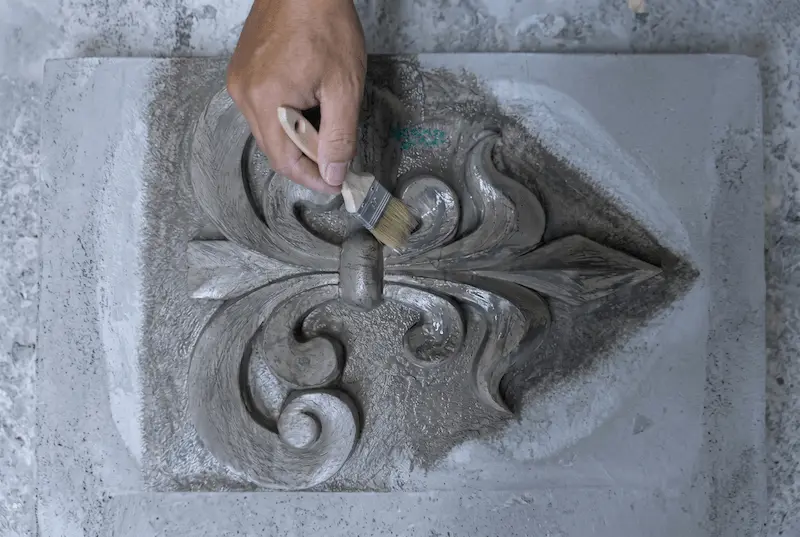
Before brushing silicone, apply a suitable release agent to the master model. This helps prevent the silicone from sticking too strongly to the cement surface and makes demolding easier.
Apply the release agent in a thin, even layer. Do not use too much, because excess release agent may affect surface detail.
If the cement master model is dusty or powdery, clean the surface first and make sure it is stable before applying release agent.
Step 6: Mix the RTV-2 Silicone Rubber
Measure Part A and Part B according to the supplier’s recommended mixing ratio. Use a digital scale if the silicone is mixed by weight.
Mix slowly and scrape the sides and bottom of the cup. Avoid mixing too aggressively, as this can introduce extra air bubbles.
If the silicone starts to thicken too quickly, stop and check the mixing ratio, temperature, working time, and material condition before continuing.
Step 7: Brush the First Silicone Layer
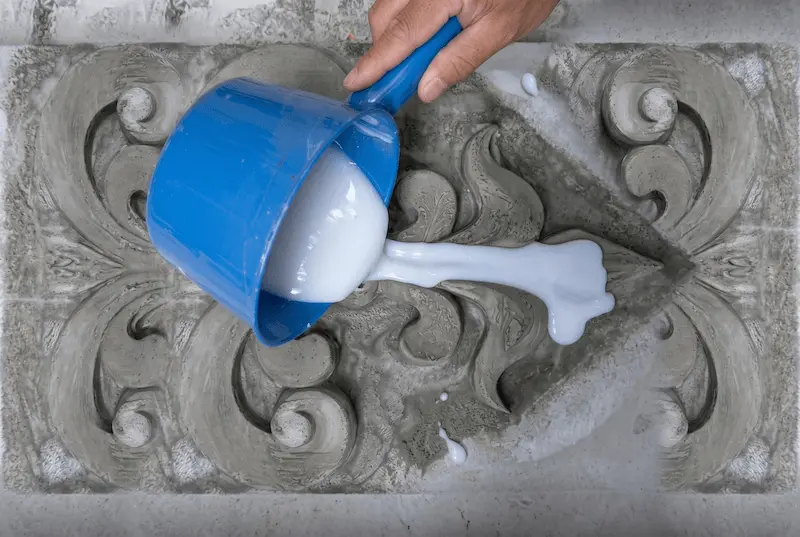
Brush a thin layer of silicone over the master model first. Push the silicone into corners, grooves, raised patterns, and small details.
This first layer is important because it helps capture the surface texture and reduces trapped air.
Do not rush this step. A careful first layer can improve the final mold quality.
Step 8: Remove Visible Air Bubbles
After brushing the first layer, check the surface for bubbles. Use a brush, toothpick, or small tool to break visible bubbles.
You can also tap the mold box gently to help trapped air rise.
Removing bubbles at this stage helps improve the surface quality of the finished silicone mold.
Step 9: Apply Two to Three Silicone Layers
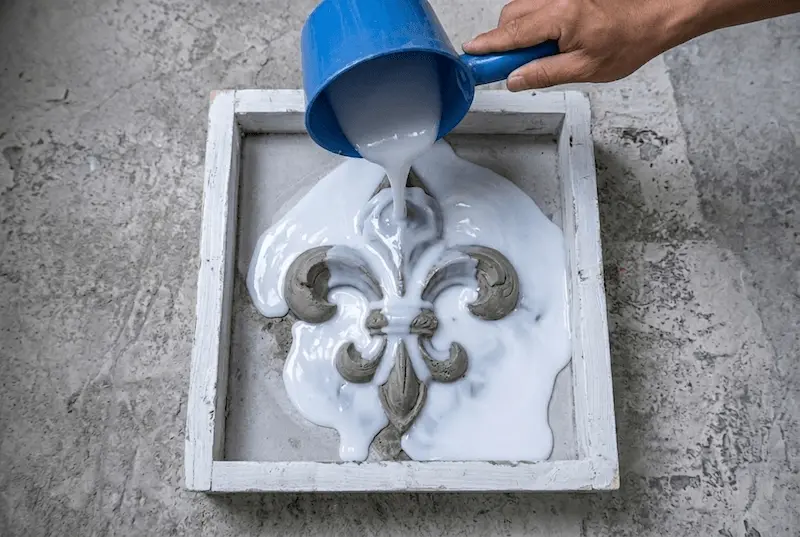
Apply two to three silicone layers over the master model. Each layer helps build mold strength and reduces the risk of thin areas.
Brush carefully around corners, raised textures, and undercuts.
For larger molds, a support shell or backing structure may be needed to help the silicone mold keep its shape during concrete casting.
Step 10: Let the Silicone Cure
Leave the silicone undisturbed and allow it to cure fully according to the technical data sheet.
Do not demold too early. If the silicone is not fully cured, the mold may deform, tear, or show surface defects.
Once cured, the silicone should feel stable, flexible, and clean on the surface.
Step 11: Demold the Silicone Mold
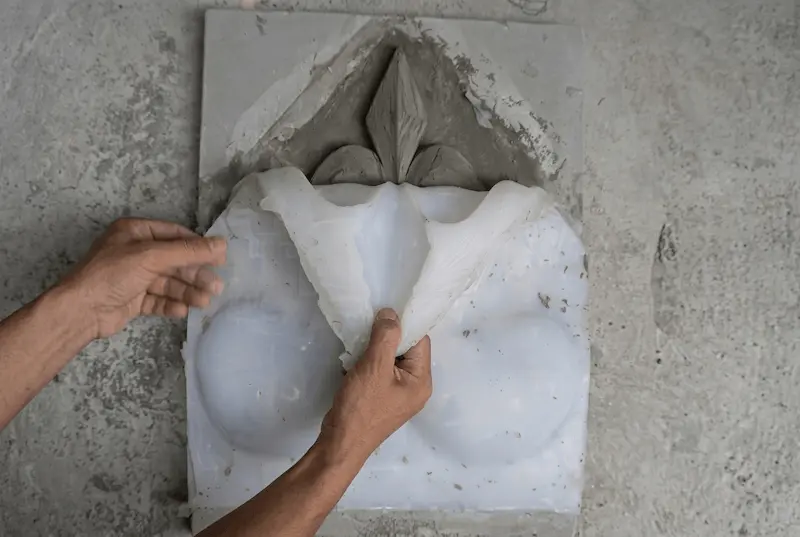
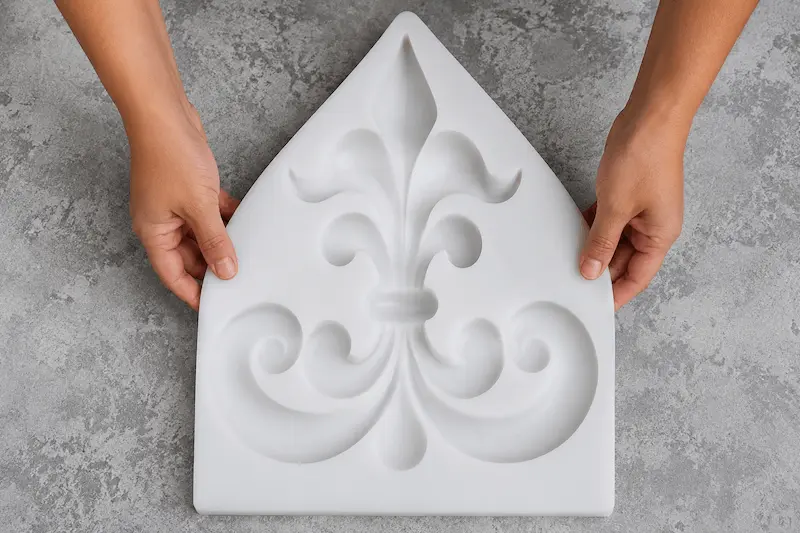
After the silicone has cured, remove the mold box and carefully separate the silicone mold from the cement master model.
Demold slowly, especially around detailed areas, sharp edges, or undercuts.
After demolding, check the mold for bubbles, thin spots, or incomplete details.
Step 12: Cast Concrete Into the Silicone Mold
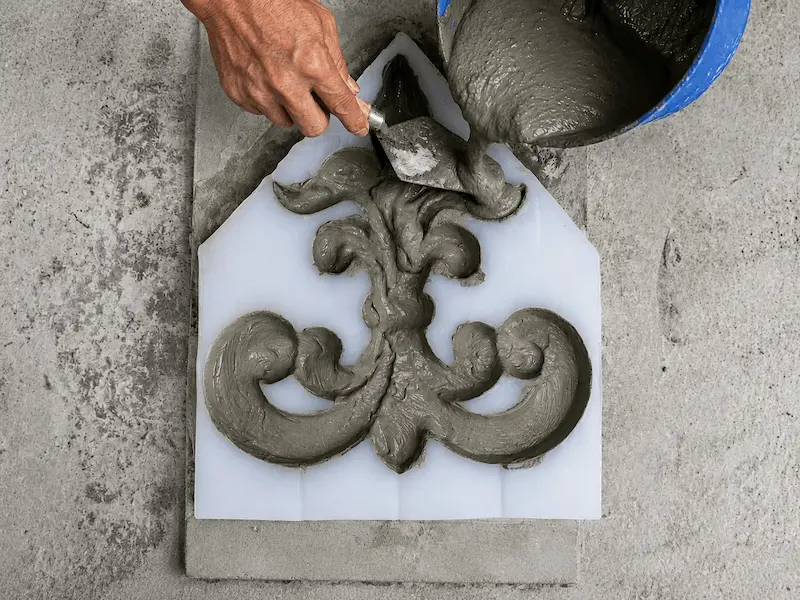
Mix the concrete according to the supplier’s instructions. Pour it slowly into the silicone mold.
Tap or vibrate the mold gently to release air bubbles. Make sure the mold is properly supported, because concrete is heavy and may deform a thin silicone mold.
Allow the concrete to harden fully before demolding.
Step 13: Remove the Finished Concrete Casting
After the concrete has hardened, carefully remove the finished part from the silicone mold.
Clean and dry the silicone mold after use. Proper cleaning, storage, and gentle demolding can help extend the mold’s service life.
How to Cast Concrete for a Flawless Finish
- Lock and Align: Place your flexible silicone blanket securely back inside its rigid support shell.
- Pour in Stages: Pour your concrete mix slowly into the cavity. If your design features dense textures, fill the mold halfway first.
- Vibration Damping: Tap the sides of the outer jacket or place the mold onto a professional vibrating table for 30 to 60 seconds. This forces trapped air inside the cement slurry to migrate to the back of the tile, eliminating ugly surface pockmarks on your finished brick.
- Alkaline Clean-Up: After harvesting your concrete part, wash the silicone cavity with mild soapy water to strip away residual alkaline salts. Store the mold flat inside its support shell to prevent long-term gravity warping.
🚫 3 Fatal Production Mistakes to Avoid
Omitting the Thixotropic Agent: Trying to build mold thickness using standard, low-viscosity silicone without a thixo additive will cause the rubber to continuously drain off vertical walls, leaving you with fatally thin edges.
Casting Over Green Cement: Never pour platinum-cure silicone over a freshly made, wet cement master. High moisture and alkaline chemical conditions can trigger catastrophic cure inhibition, turning your liquid silicone into a ruined, sticky paste.
Over-Applying Release Agent: Drenching the master in release agent creates liquid puddles in the grain texture, resulting in soft, blurred details on your final concrete castings.