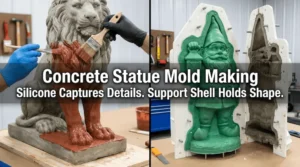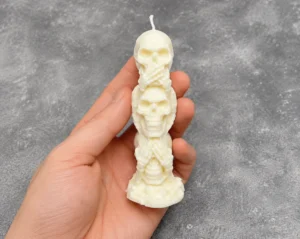

Silicone molds are commonly used for resin casting because they are flexible, reusable, and able to capture fine surface details. They are suitable for resin figurines, jewelry, coasters, decorative parts, craft pieces, and small prototype samples.
RTV-2 silicone rubber is a popular choice for making resin molds. It comes in two parts and cures at room temperature after mixing. Once cured, the silicone mold stays flexible, making it easier to remove resin castings without damaging the shape or details.
This guide shows the basic process: prepare the master model, apply release agent, mix and apply silicone, cure the mold, then pour and demold the resin.
Lo que necesita
Prepare these materials before starting:
- Master model
- Goma de silicona RTV-2
- Mixing cup
- Stirring stick
- Balanza digital
- Guantes
- Plastic tray or mold box
- Brush or spatula
- Scissors or craft knife
- Resin for casting
For detailed resin figurines, choose silicone with good flexibility and tear strength. For larger resin parts, a slightly firmer silicone may help the mold keep its shape better.
Paso 1: Preparar el modelo maestro
Clean the master model before mold making. Remove dust, oil, loose particles, or surface residue.
Place the model on a flat work surface or inside a plastic tray. Make sure it is stable and will not move during the silicone application.
If the master is porous, such as plaster, clay, wood, or some 3D printed parts, seal the surface first.
Step 2: Apply Mold Release
Apply a thin layer of mold release agent to the master model if needed.
This helps the cured silicone separate more easily from the master, especially when the model has fine details, undercuts, or a textured surface.
Do not apply too much release agent, because excess release may affect surface detail.
Step 3: Mix the RTV-2 Silicone
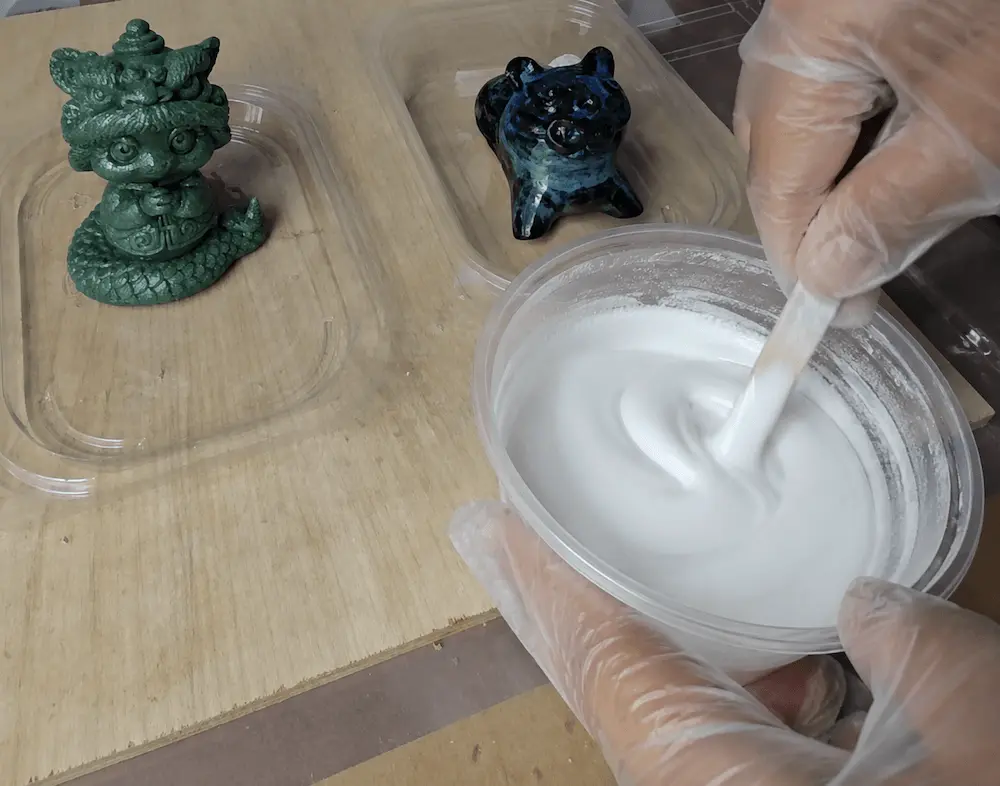
Measure Part A and Part B according to the supplier’s mixing ratio.
Pour both parts into a clean mixing cup. Stir slowly and evenly, scraping the sides and bottom of the cup.
Avoid mixing too aggressively, because this can create more bubbles. Mix until the silicone looks uniform.
Step 4: Apply the Silicone to the Master
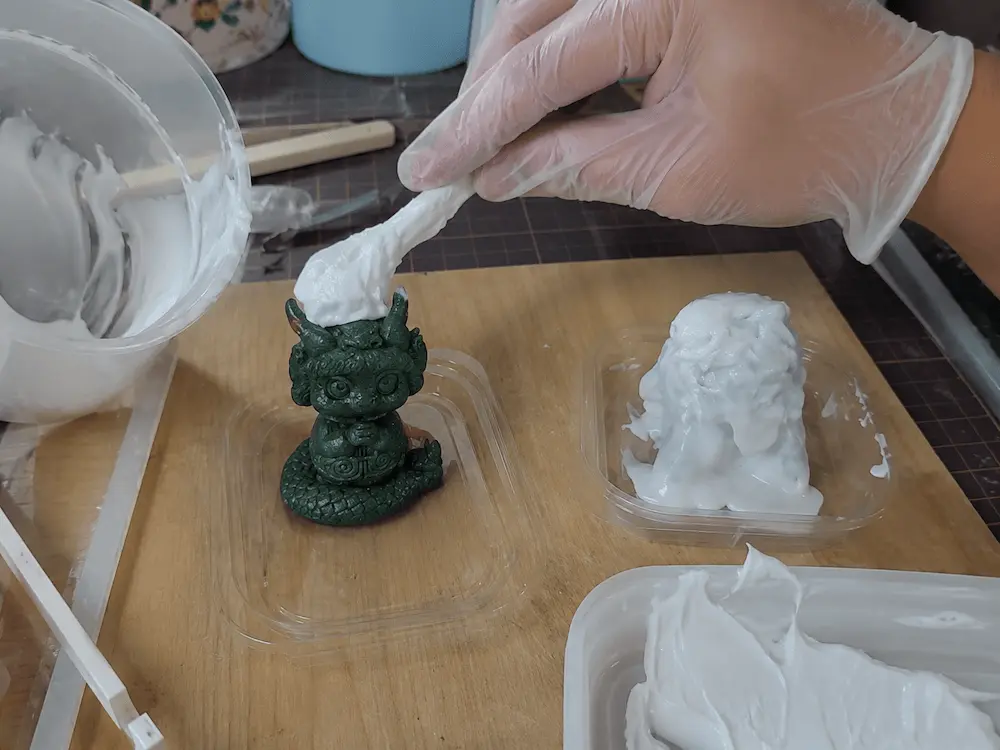
Apply the mixed silicone onto the master model.
For the first layer, use a brush, spatula, or gloved hand to press the silicone into small details, grooves, corners, and undercuts.
This first layer is important because it captures the surface detail. After that, add more silicone to build enough mold thickness.
Step 5: Let the Silicone Cure
Leave the coated master undisturbed until the silicone fully cures.
Curing time depends on the silicone grade, room temperature, and mold thickness. Do not demold too early, even if the surface feels dry.
The silicone should feel firm, flexible, and non-sticky before demolding.
See our resin mold-making application page to learn how to choose the right silicone hardness and type.
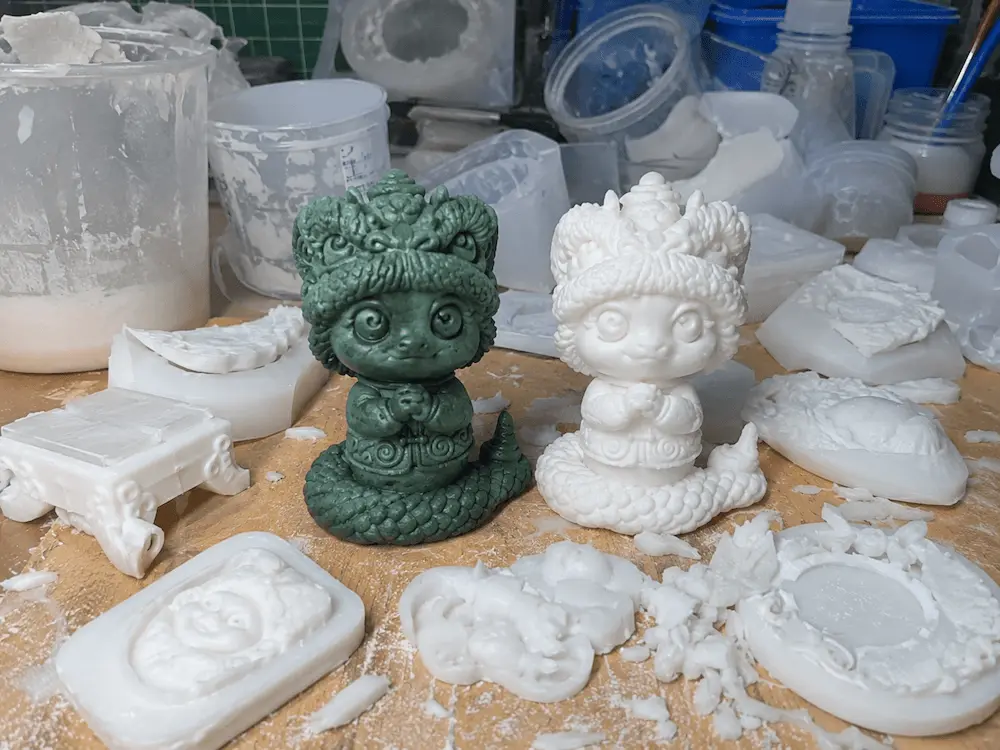
Step 6: Demold the Master Model
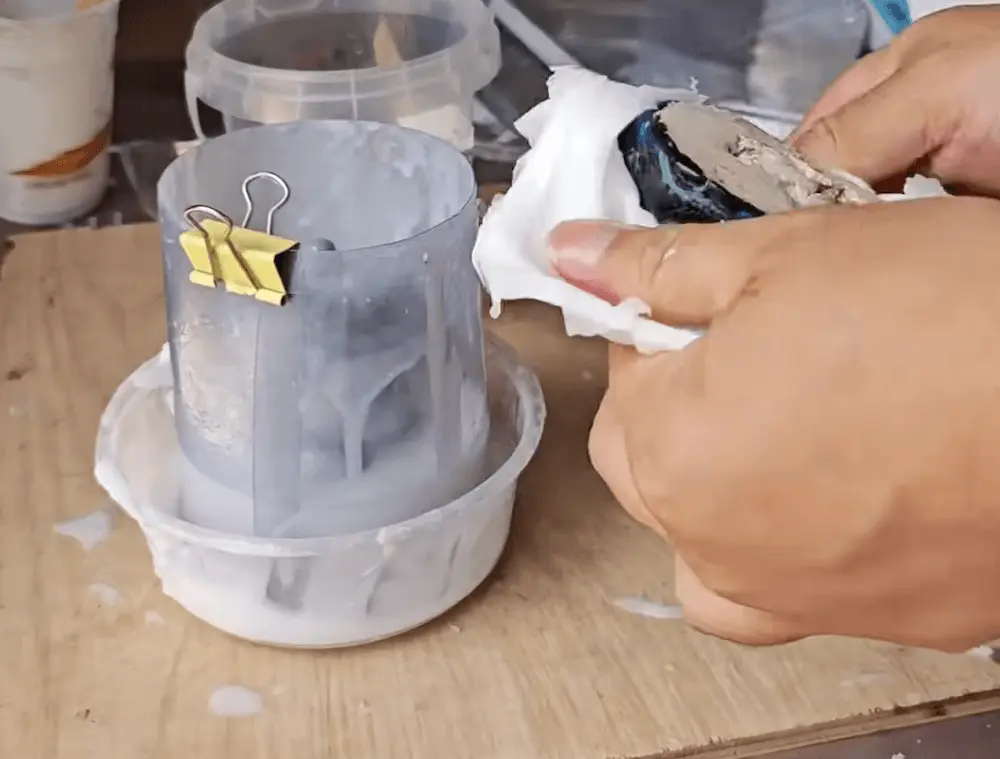
Carefully remove the master model from the cured silicone mold.
Start from the edges and peel slowly. For complex shapes, release the undercuts carefully to avoid tearing the mold.
If needed, trim excess silicone or make a small cut line to help open the mold.
Step 7: Mix the Resin

Prepare the resin according to the resin supplier’s instructions.
Measure the correct ratio and stir slowly until the mixture is uniform. Try not to introduce too many bubbles during mixing.
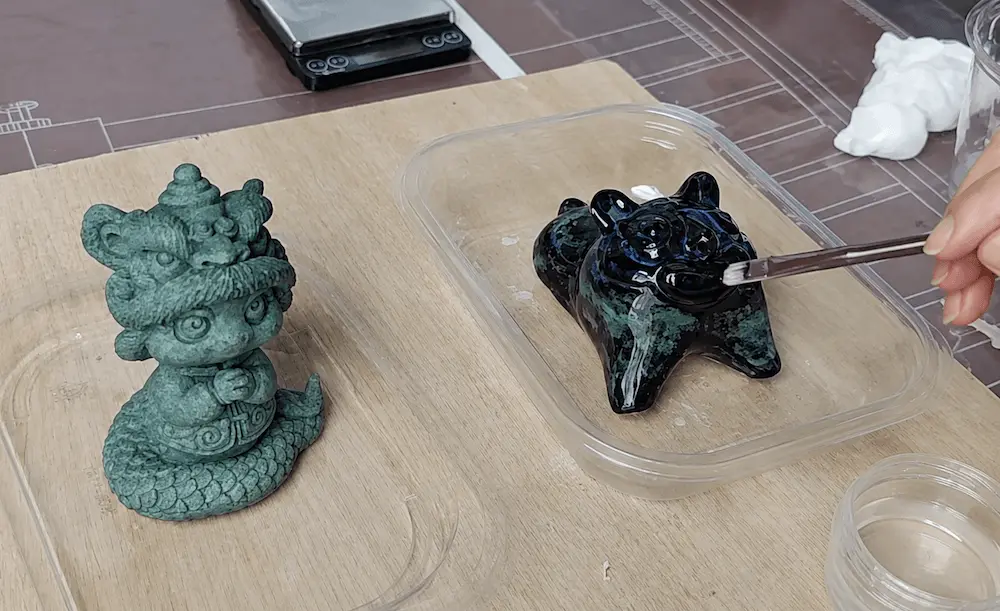
If you want colored resin, add pigment after the resin is fully mixed.
Step 8: Pour the Resin into the Silicone Mold

Pour the mixed resin slowly into the silicone mold.
For detailed molds, pour from one side and let the resin flow naturally into the details. This helps reduce trapped air.
Gently tap the mold to help bubbles rise to the surface.
Step 9: Let the Resin Cure
Leave the filled mold in a flat and stable position until the resin fully cures.
Curing time depends on the resin type, room temperature, and casting size.
Do not remove the resin too early, or the casting may deform, bend, or lose surface quality.
Step 10: Demold the Resin Casting

Once the resin is fully cured, gently flex the silicone mold and remove the resin piece.
Release small details and undercuts slowly. Do not force the casting out too quickly.
After demolding, trim, sand, or polish the resin part if needed.